Work Management
Equipment, Material, & Inventory Tab
Equipment Dashboard
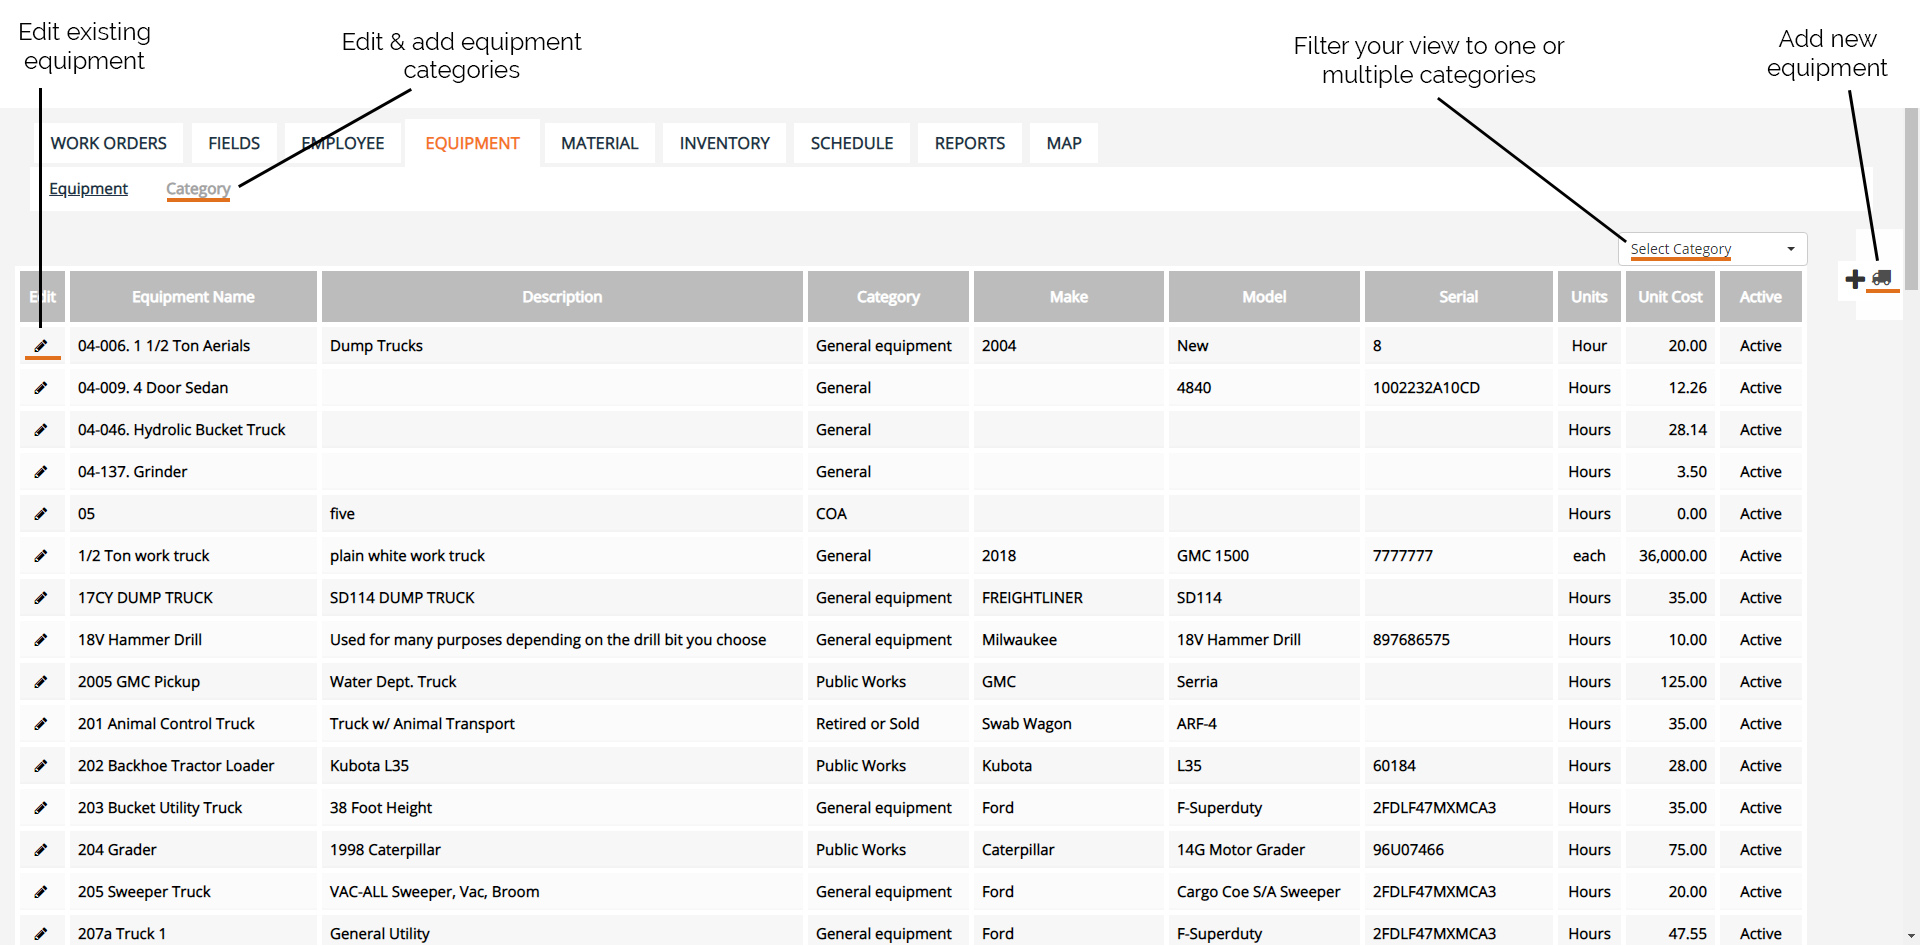
Add Equipment

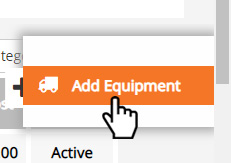
1. Select the equipment tab from the main menu bar.
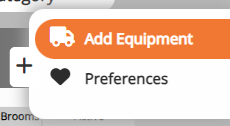
2. Click Add Equipment from within the side menu
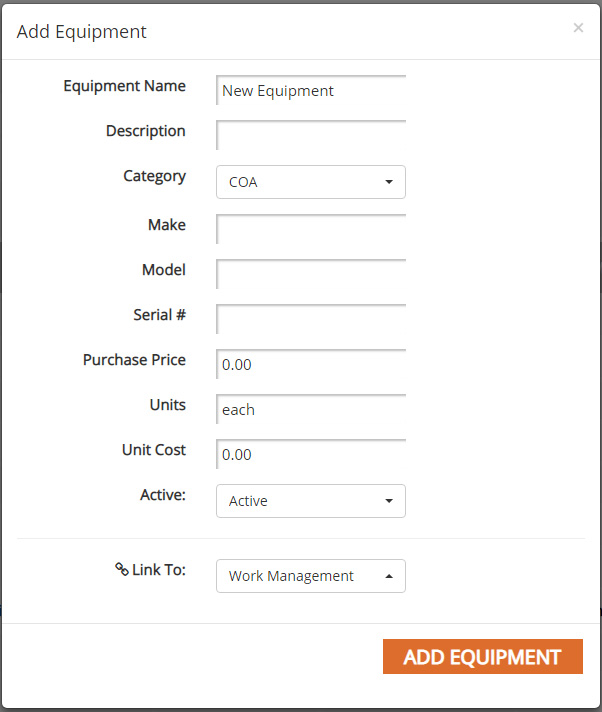
3. Fill in the equipment information.
4. Click Add Equipment.


Editing Equipment
-To edit a piece of equipment simply click on it’s name in the dashboard or select the pencil icon next to the name. An edit window will pop up with the field’s current information.
Keep in mind that equipment cannot be deleted if it’s tied to any work orders. We recommend creating an inactive department for equipment that is no longer used.

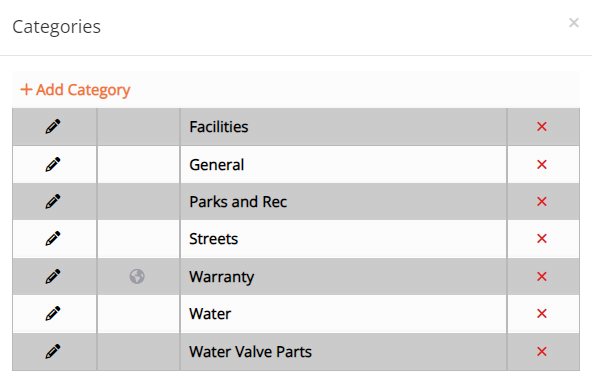
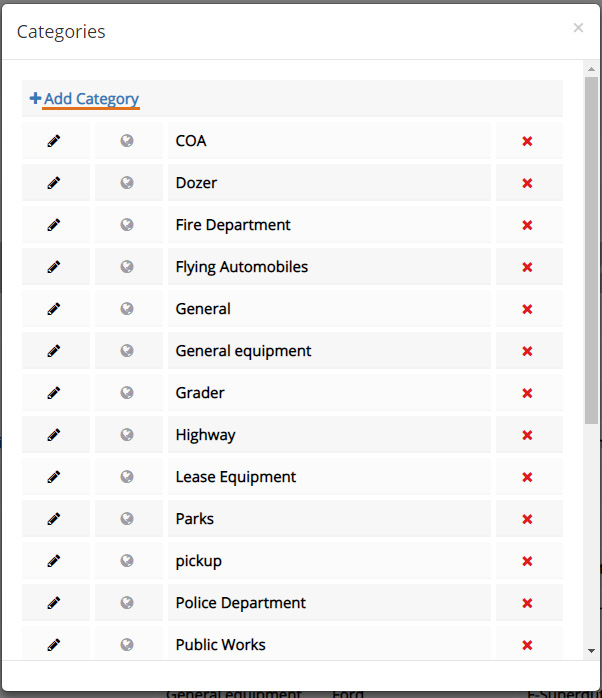
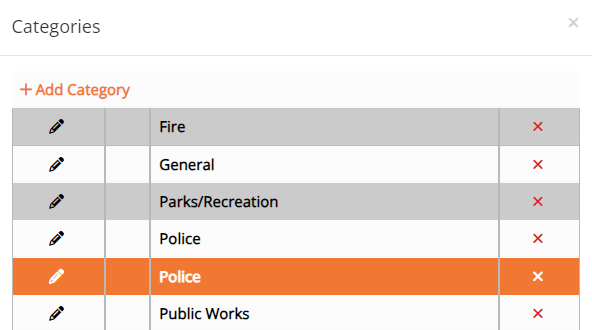
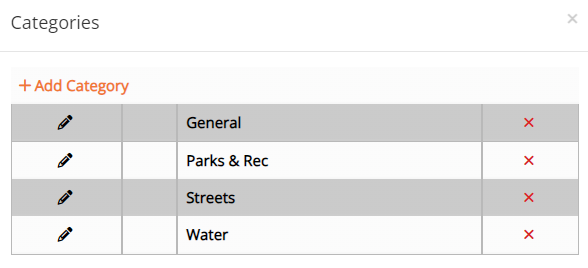
Add Equipment Categories

1. Click the Category button within the submenu.
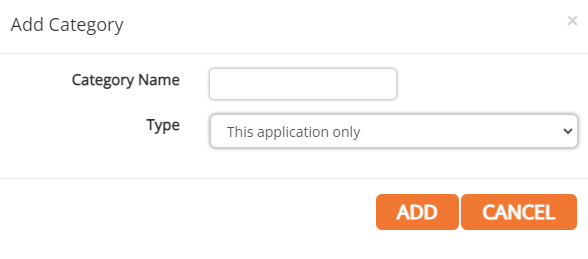
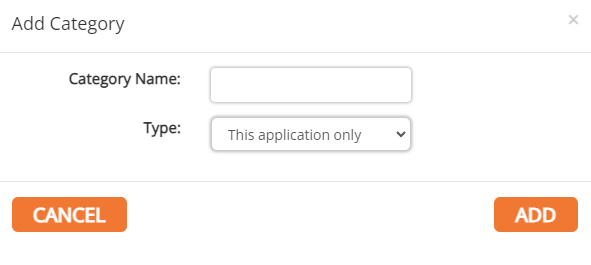
2. Click Add Category.
3. Enter the category title and choose whether to add the category only to the Work Management application or to all applications.
4. Click Add.
5. To edit or delete an existing category, click on the equipment's row within the table.
Viewing Equipment Categories
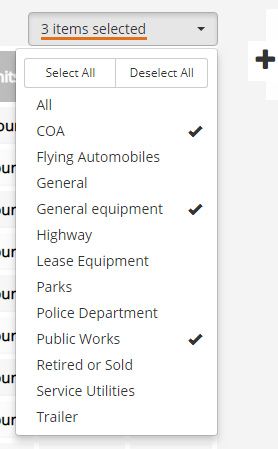
-If you would like to filter your view of equipment to a specific category, click on the drop-down at the right-side of the dashboard and check or uncheck the categories to get a list of which ones you wish to view.
Material Tab

Add Material
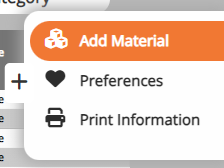
1. Click the Add Material button from within the side menu.
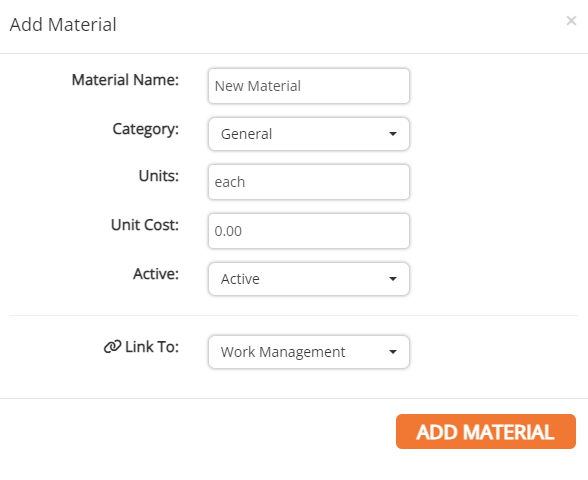
2. Fill in the material information, then click Add Material.
3. To edit or delete existing materials, click on the row of the material in the table.
4. Edit the desired information and click Save, or click Delete to delete the material.
NOTE: Materials attached to a work order cannot be deleted.
Add Material Categories
1. Click the Category button in the sub-menu.

2. Click the Add Category button.
3. Enter the category title and choose whether to add the category only to the Work Management application or to all applications.
4. Click Add.
5. To edit an existing category, click on the category’s row within the table. To delete an existing category, click the red X at the end of the category’s row in the table.
Inventory Dashboard

Add Inventory
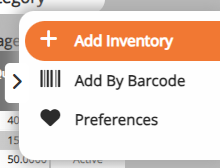
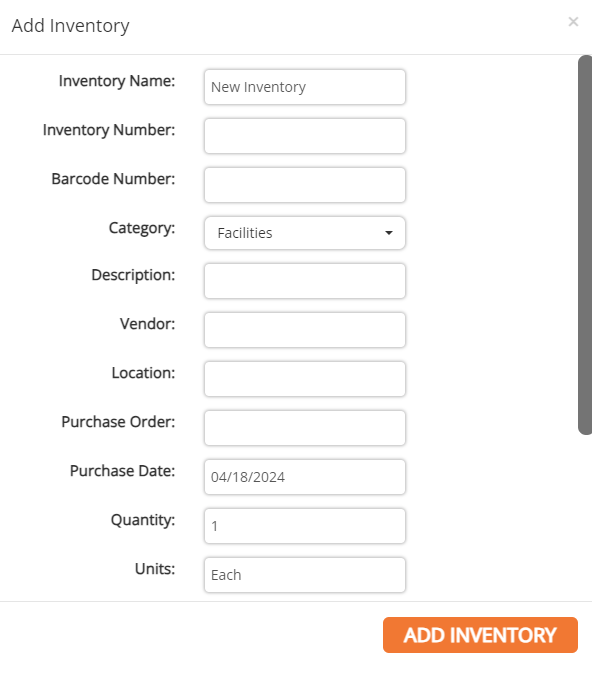
1. Click the Add Inventory button from within the side menu.
2. Fill in the inventory information, then click Add Inventory.
3. To edit or delete existing inventories, click on the inventory's row within the table. Edit the desired information and click Save or click Delete to delete the inventory.
4. Notifications can be set up for when a part reaches a certain amount. To set this notification, enter the desired amount in the Notification Quantity field within the Edit Inventory window. Enter -1 into the Notification Quantity field to remove the notification.
Add Inventory Categories
1. Click the Category button in the sub-menu.

2. Click the Add Category button.
3. Enter the category title and choose whether to add the category only to the Work Management application or to all applications.
4. Click Add.
5. To edit an existing category, click on the category’s row within the table. To delete an existing category, click the red X at the end of the category’s row in the table.