License Management
Inspection Dashboard
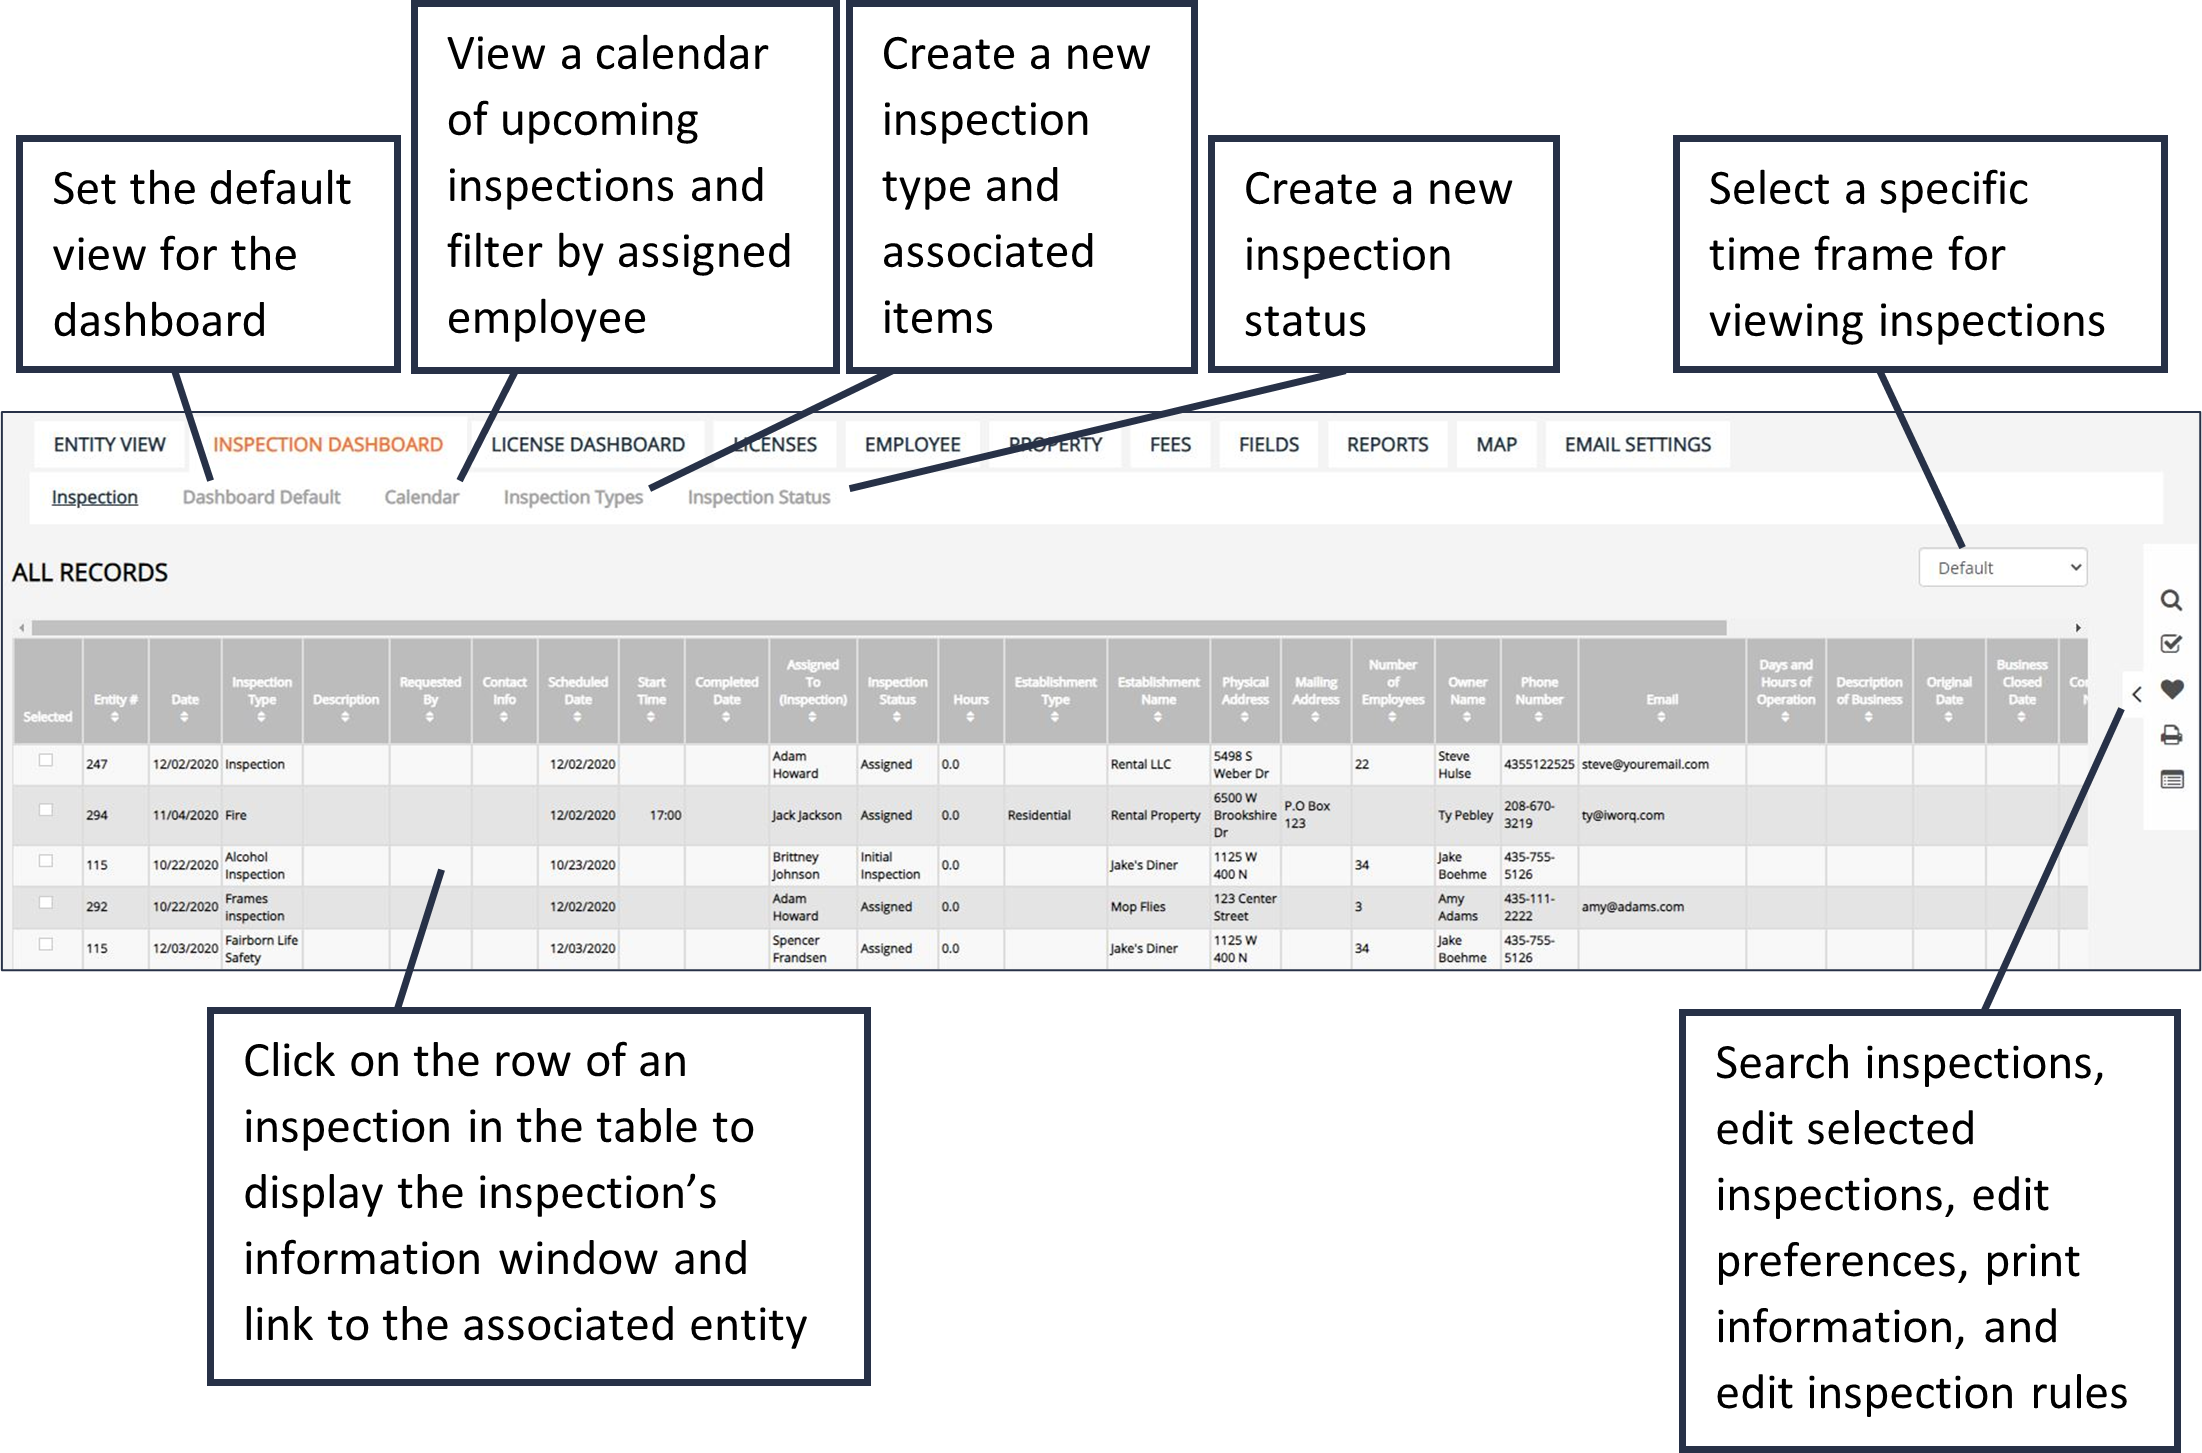
Inspection Dashboard Overview
Dashboard Defaults

1. To set the default view for the dashboard, click the Dashboard Default button in the sub-menu.
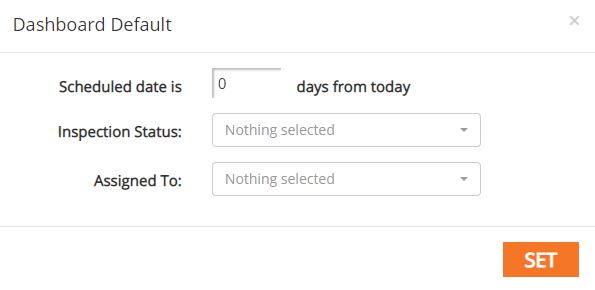
2. Enter a set number of days before the inspection's scheduled date. Inspections within this range will display. Optionally, select which inspectors to display and what inspection statuses to display in the default view. Click Edit.
3. The parameters of the Dashboard Default should display upon entering the Inspection Dashboard.
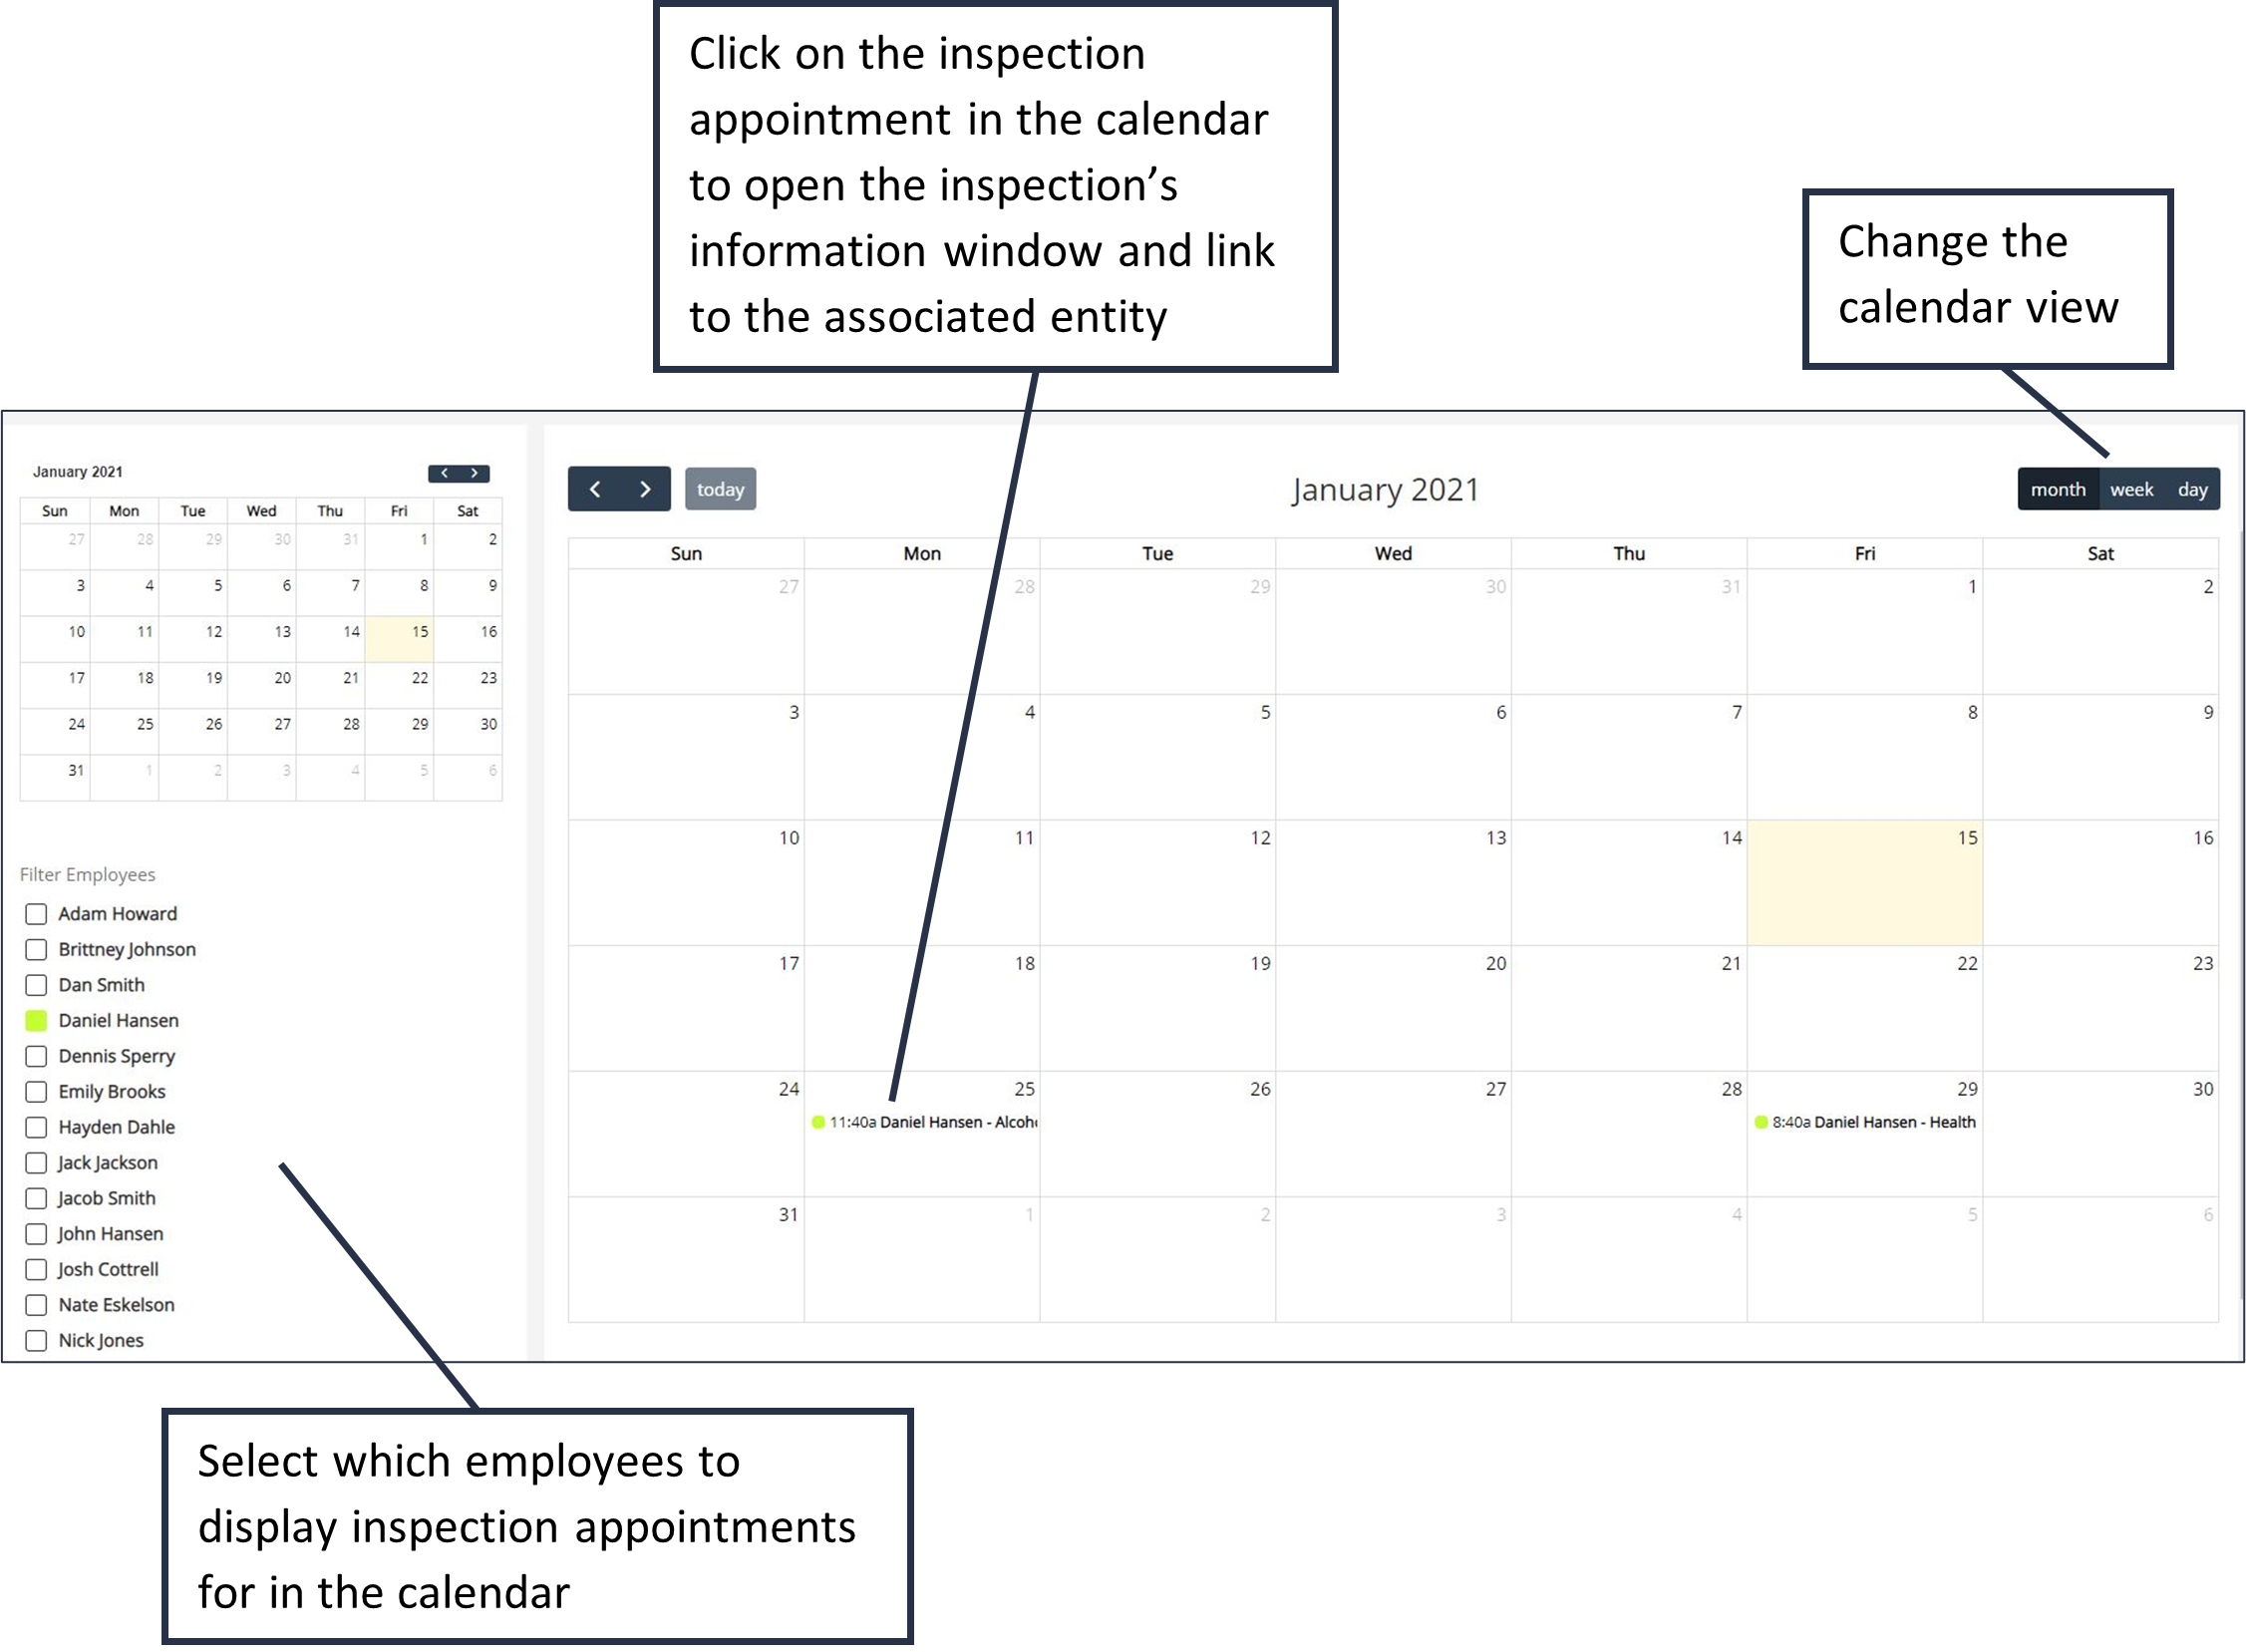
Inspection Calendar
Inspection Types

1. To add an Inspection Type, click the Inspection Types button in the sub-menu.
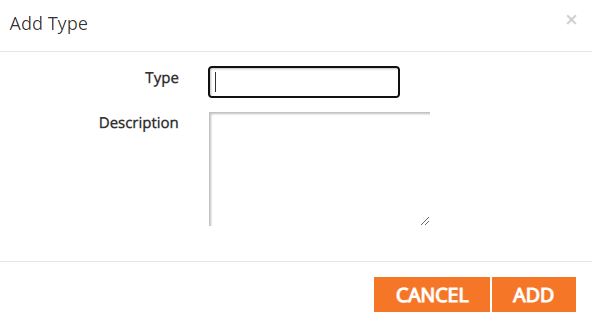
2. Enter in the inspection type title and a description. Click Add.
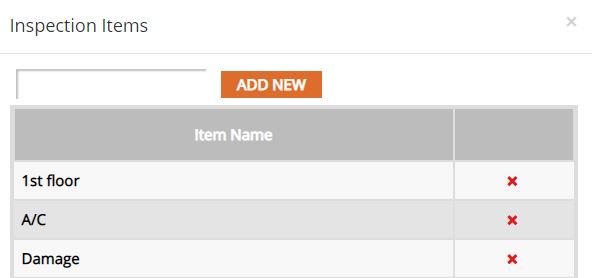
3. To add items to the inspection type, click on the blue Items button in the row of the inspection type in the table.

4. Enter the new inspection item into the box and click Add New.
5. Click on the row of an item in the table to edit or click the red X at the end of an item's row to delete.
Inspection Types

1. To add an Inspection Status, click the Inspection Status button in the sub-menu.
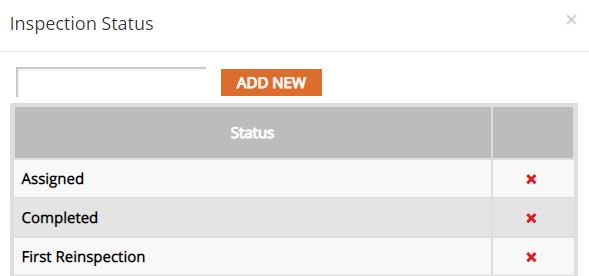
2. Enter in the inspection status title.
3. Click Add.
4. Click on an existing status in the table to edit or click the red X at the end of the status' row to delete.
License Management Tutorials