Pavement Management
Fields Tab
Fields Interface
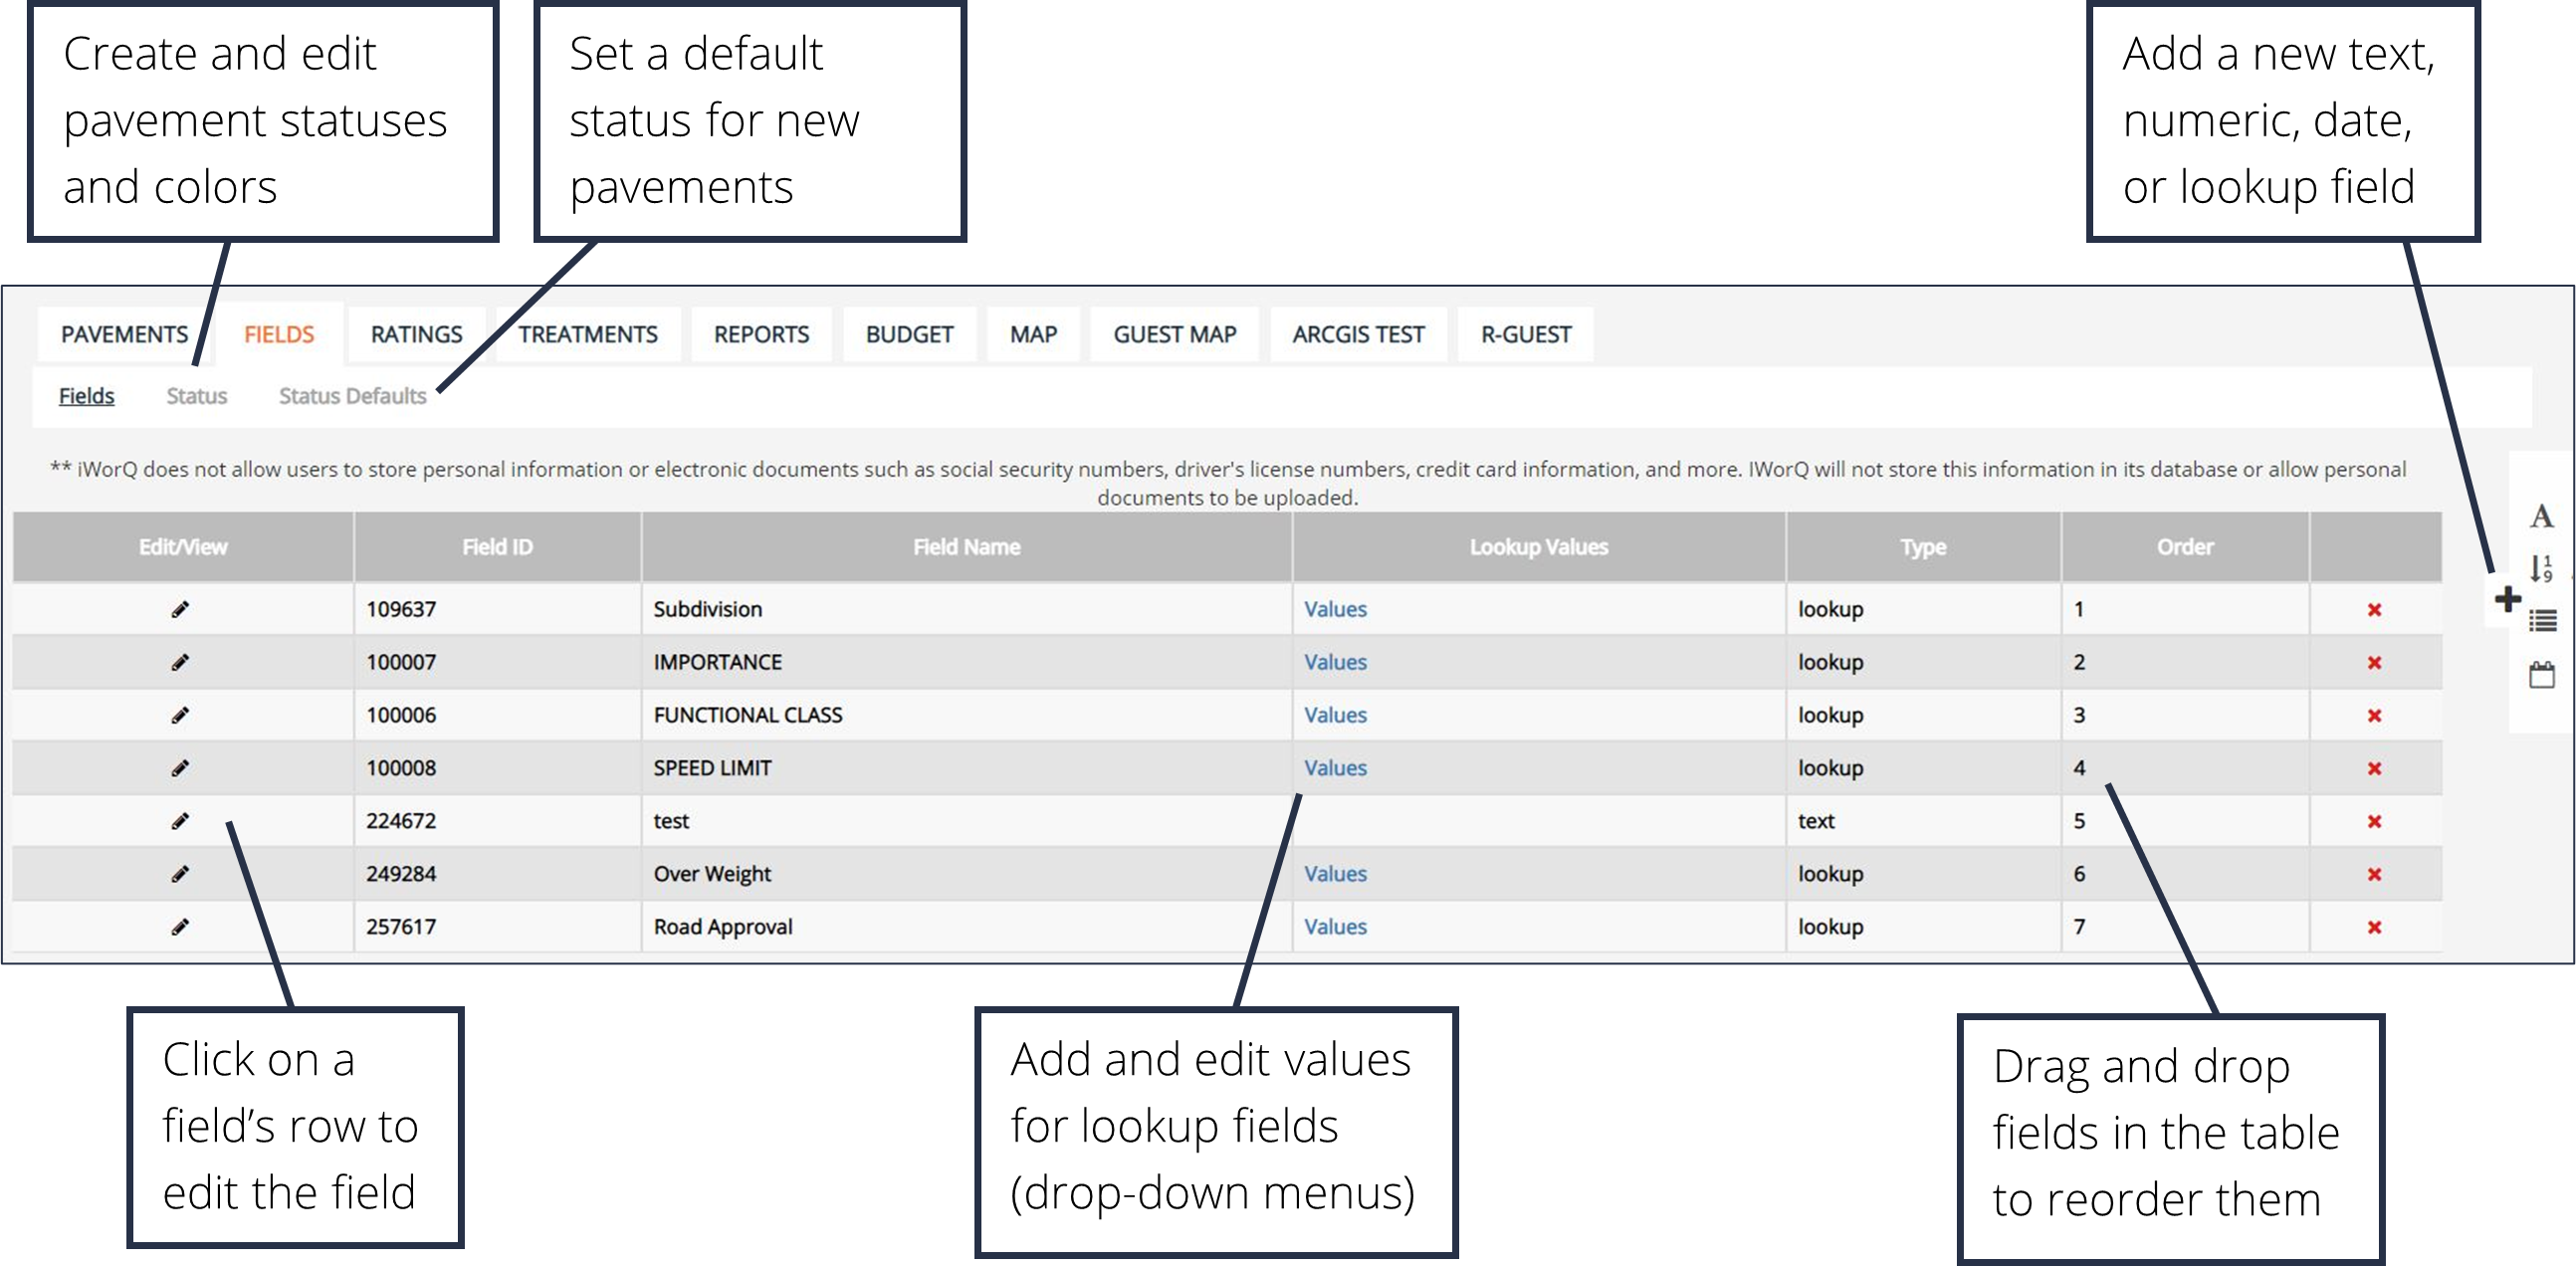
Add New Fields
To add a new field, click on the desired type of field within the side menu.
- Text field - accepts text, symbols, and numbers
- Numeric field - accepts numbers and decimals
- Date field - accepts numbers formatted as dates
- Lookup field - creates a drop-down menu box
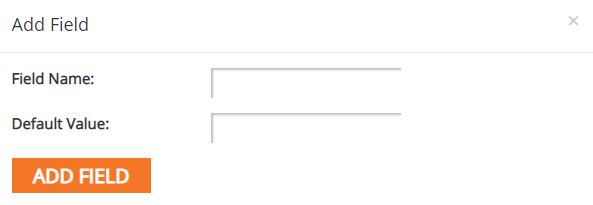
Text Fields
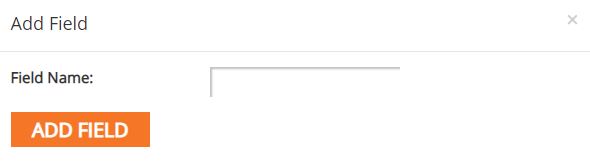
1. To add a text field, click Add Text Field in the side menu.
2. Enter the Field Name and a default value to display upon creation of a new pavement.
3. Click Add Field.
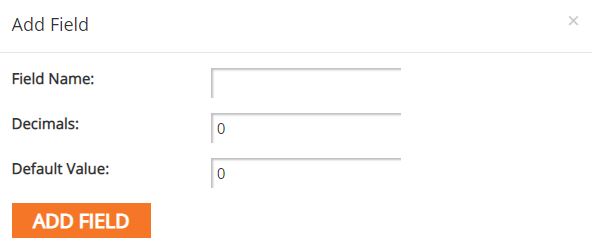
Numeric Fields
1. To add a numeric field, click Add Numeric Field in the side menu.
2. Enter in the Field Name, the number of decimals to be displayed, and a default value to display upon creation of a new permit.
3. Click Add Field.
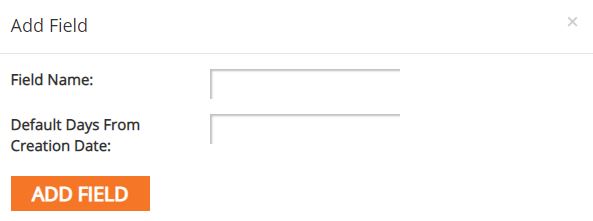
Date Fields
1. To add a numeric field, click Add Numeric Field in the side menu.
2. Enter in the Field Name, the number of decimals to be displayed, and a default value to display upon creation of a new permit.
3. Click Add Field.
Lookup Fields
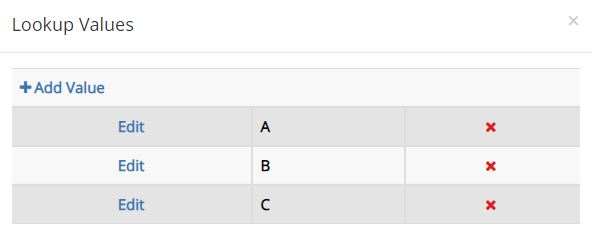
1. To add a lookup field, click Add Lookup Field in the side menu.
2. Enter in the Field Name and click Add Field.
3. To add values to the drop-down menu, click the blue Values link for the field in the main table.
4. Click Add Value.
5. Enter in the value title and click Add.
4. Click Add Value.
5. Enter in the value title and click Add.
Adding Statuses

1. To add a new status, click the Status button in the sub-menu.
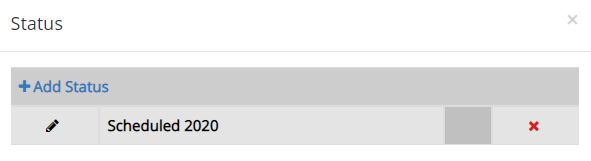
2. Click Add Status. To edit an existing status, click on the edit icon in the status' row in the table.
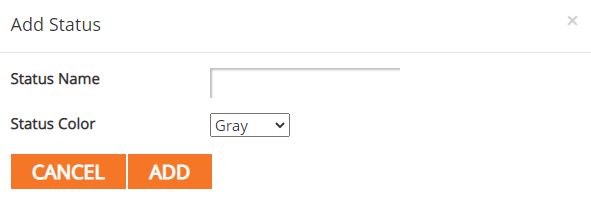
3. Enter the Status Name and select the color for the status from the drop-down menu. Click Add.
Status Defaults

1. To set a status default for a pavement to display upon creation, click the Status Defaults button in the sub-menu.
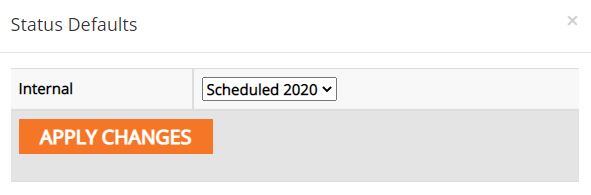
2. Select the desired default status from the drop-down menu. Click Apply Changes.
Pavement Management Tutorials