Rental License Management
Basics, Tips, and Preferences
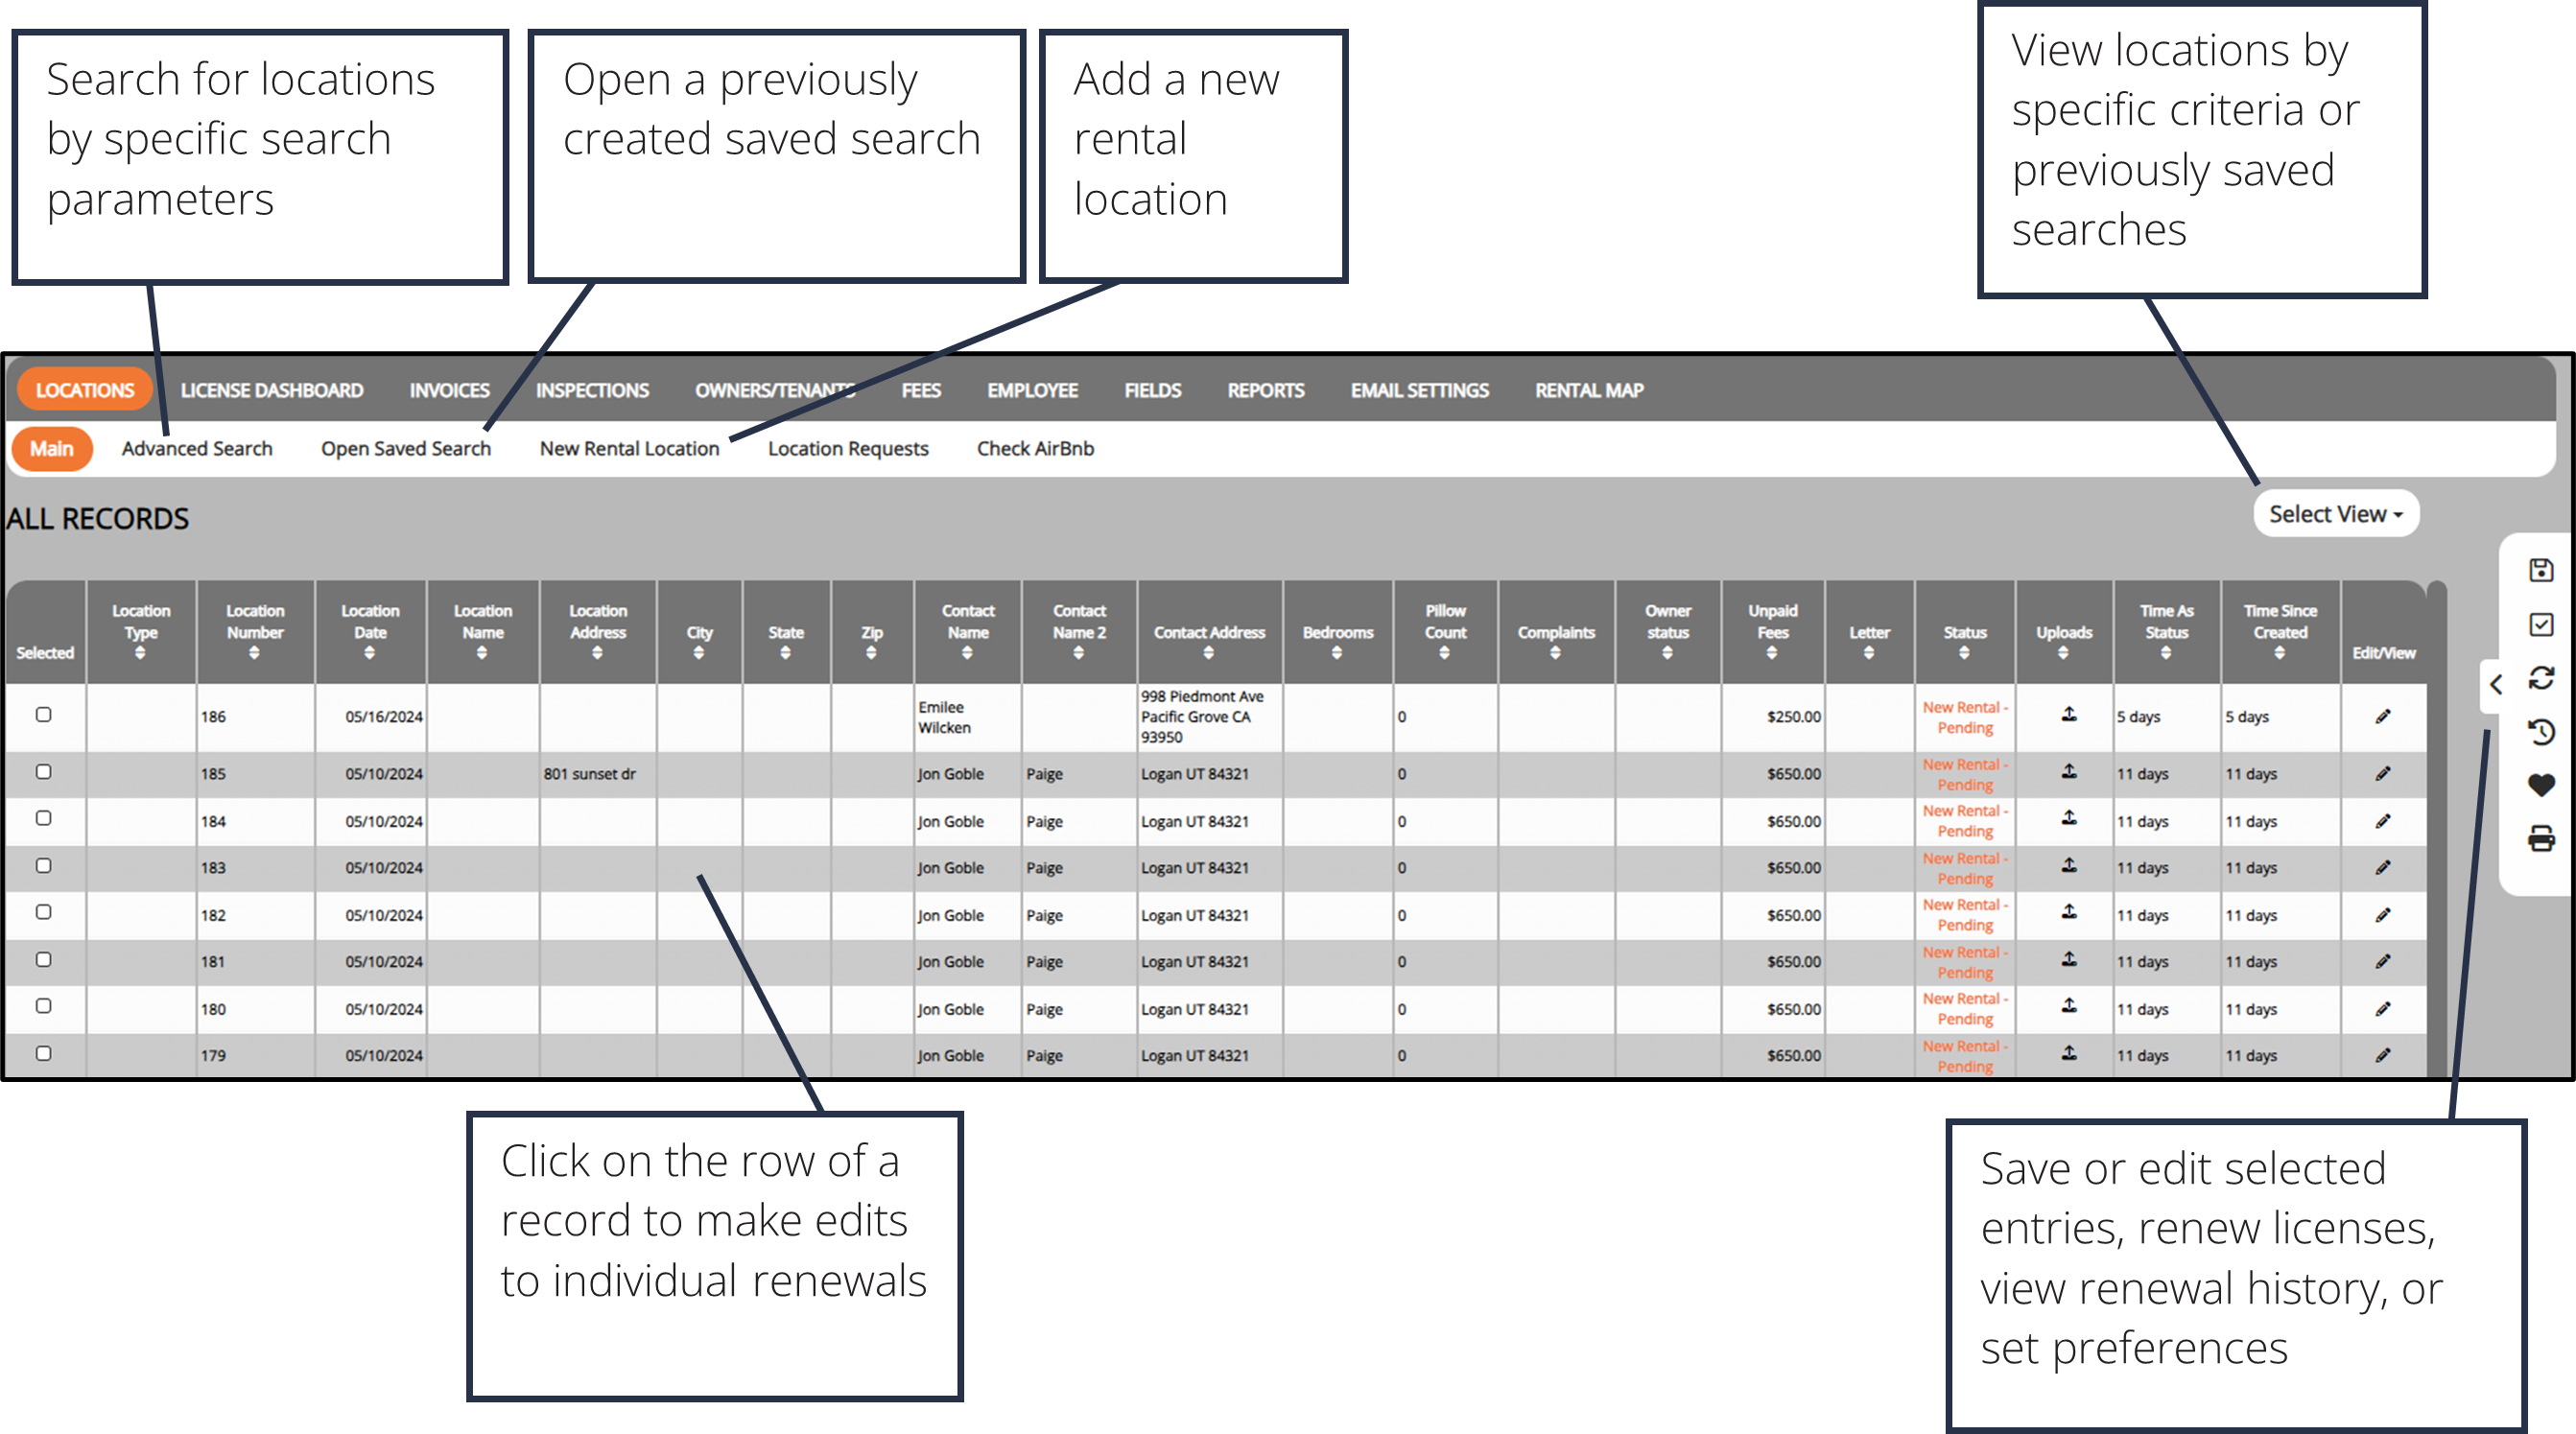
Locations Dashboard Overview
Create A New Rental Location

1. Click the New Rental Location button in the sub-menu.
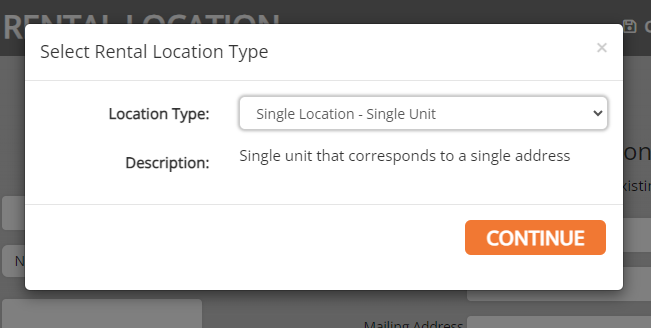
2. Select a location type from the drop-down menu and select Continue.
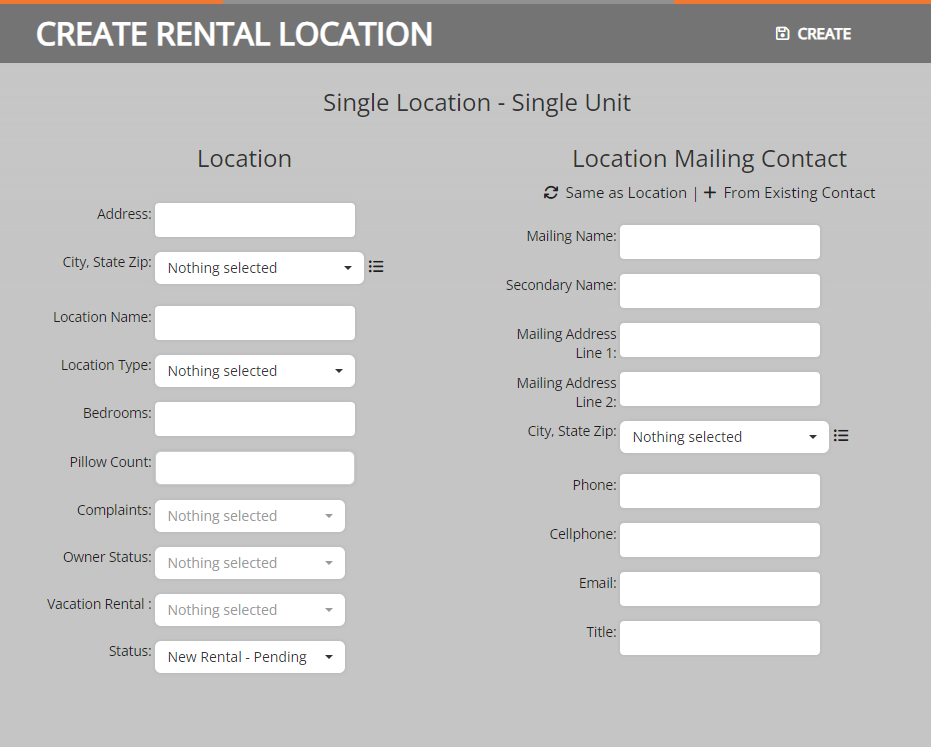
3. Fill out the rental location information. This can be changed later if necessary.
4. Click the Create button.
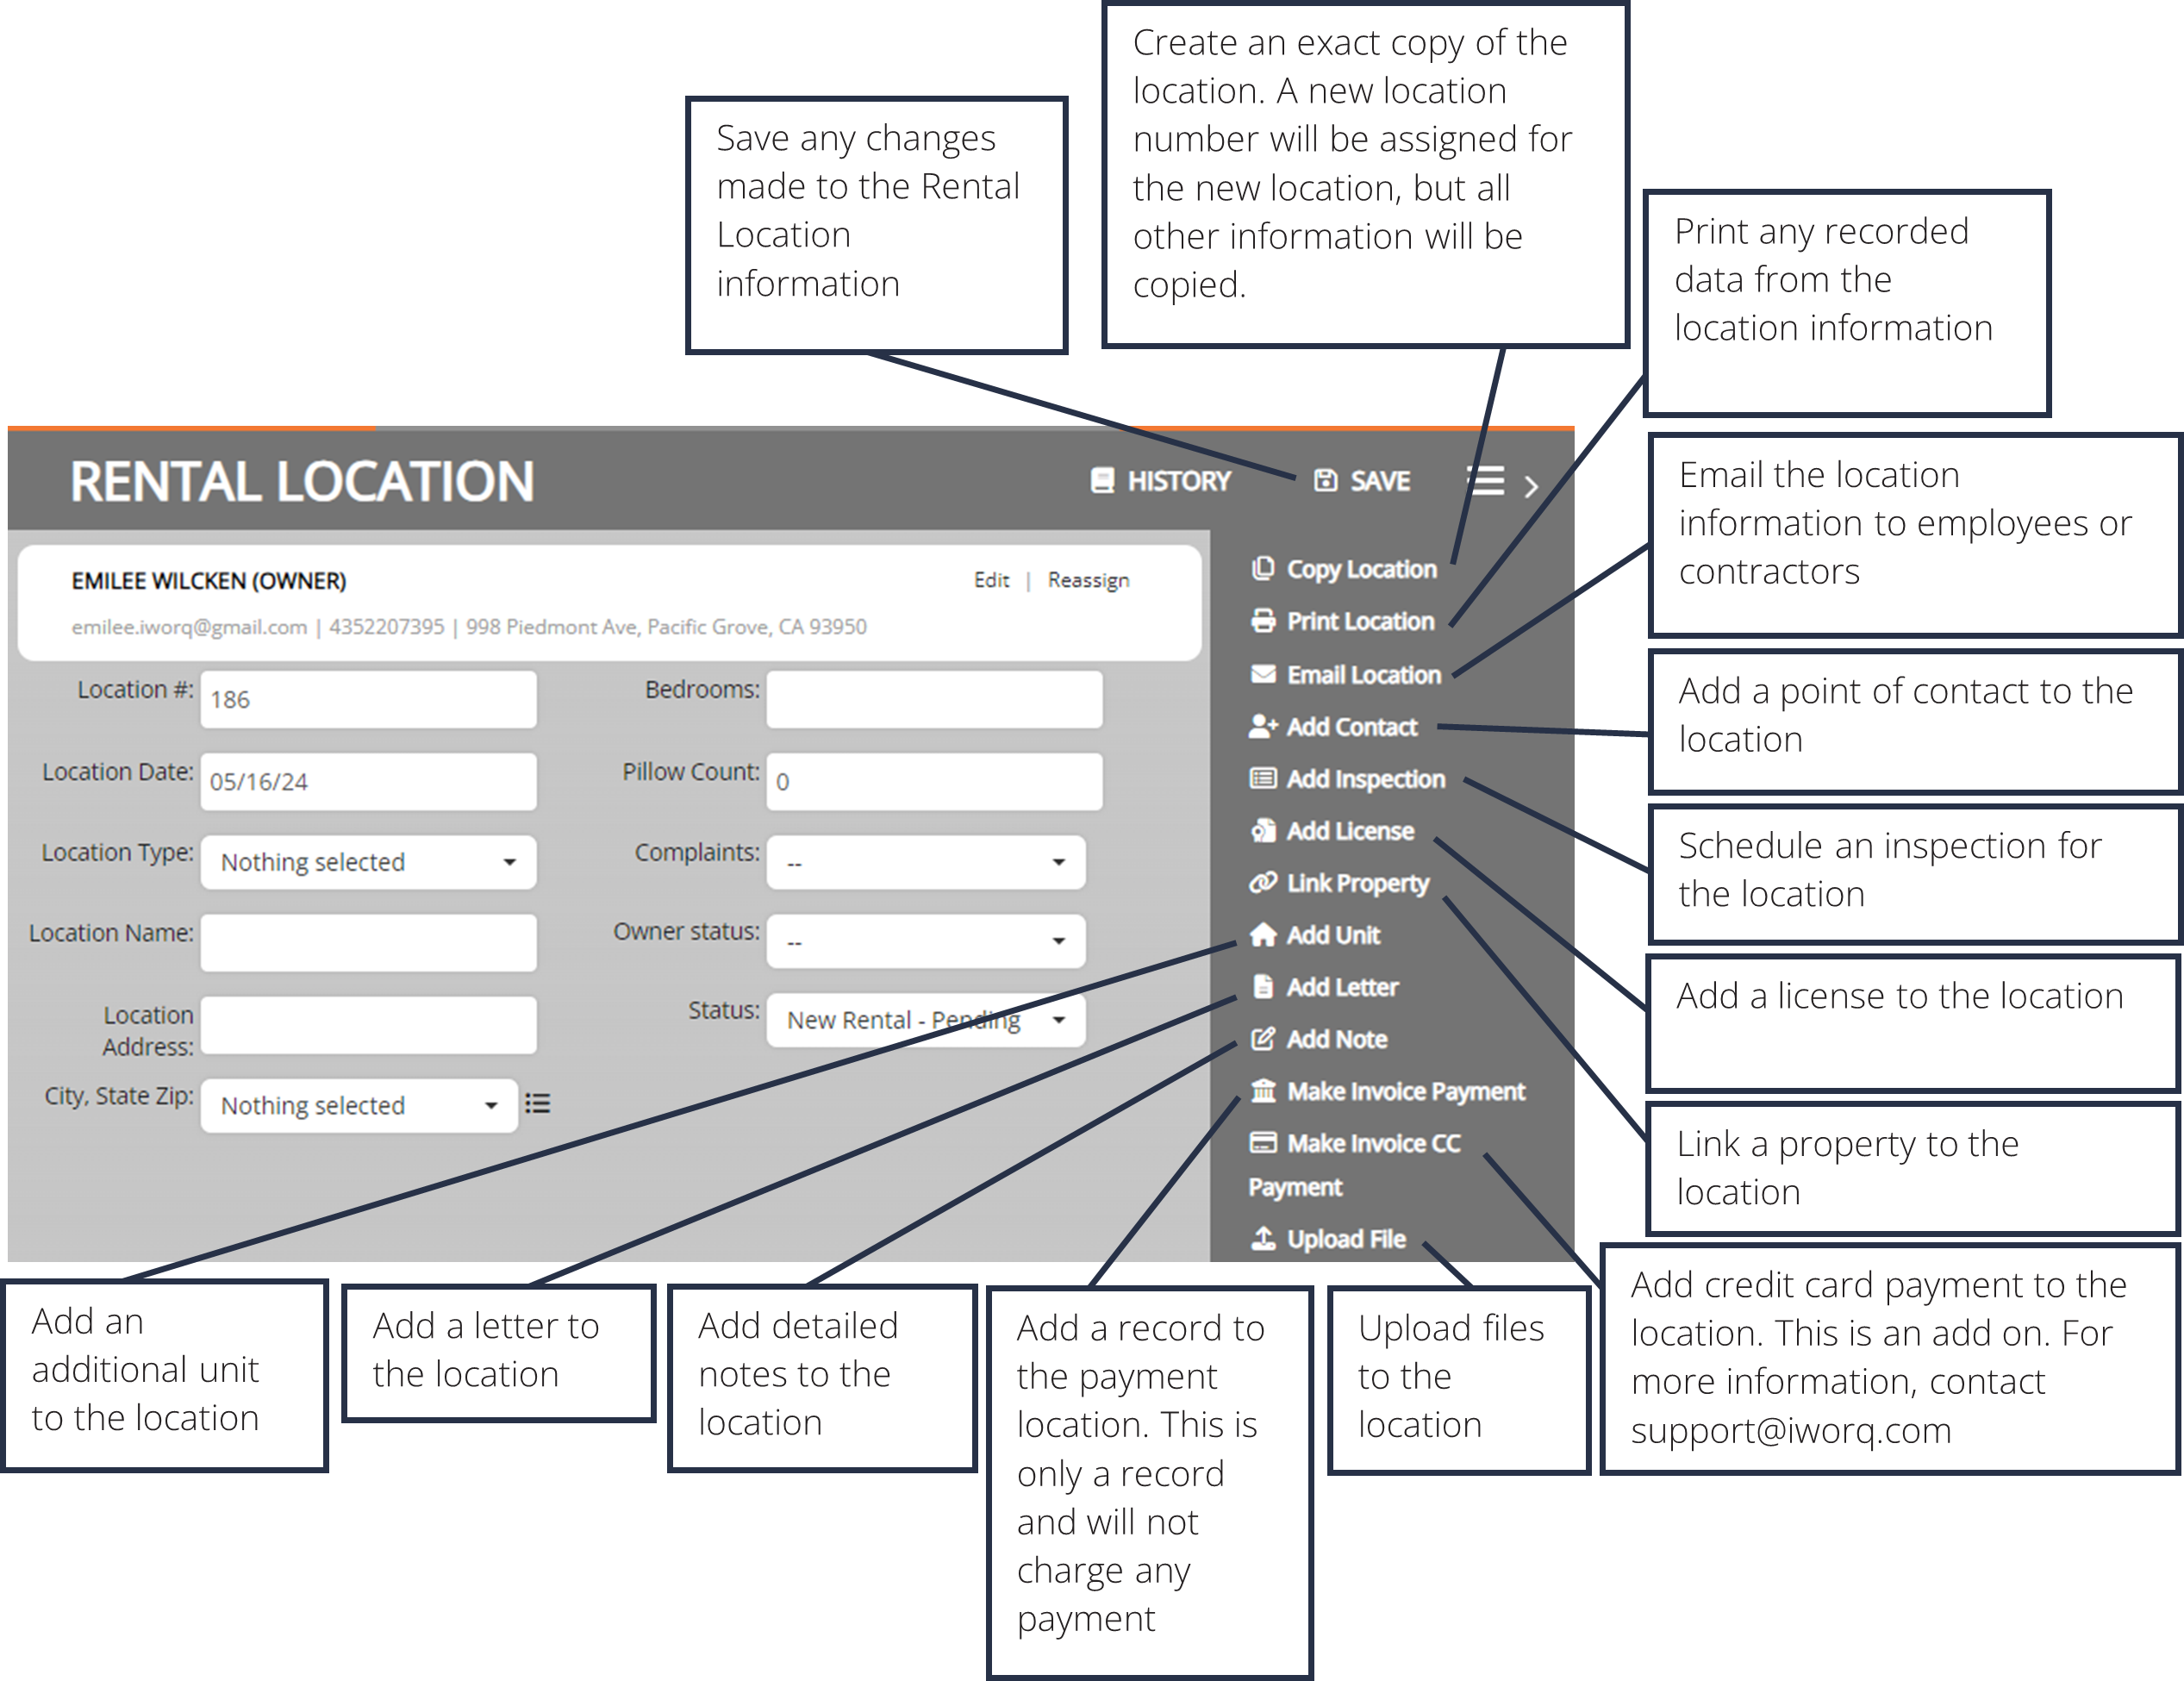
Rental Location Information
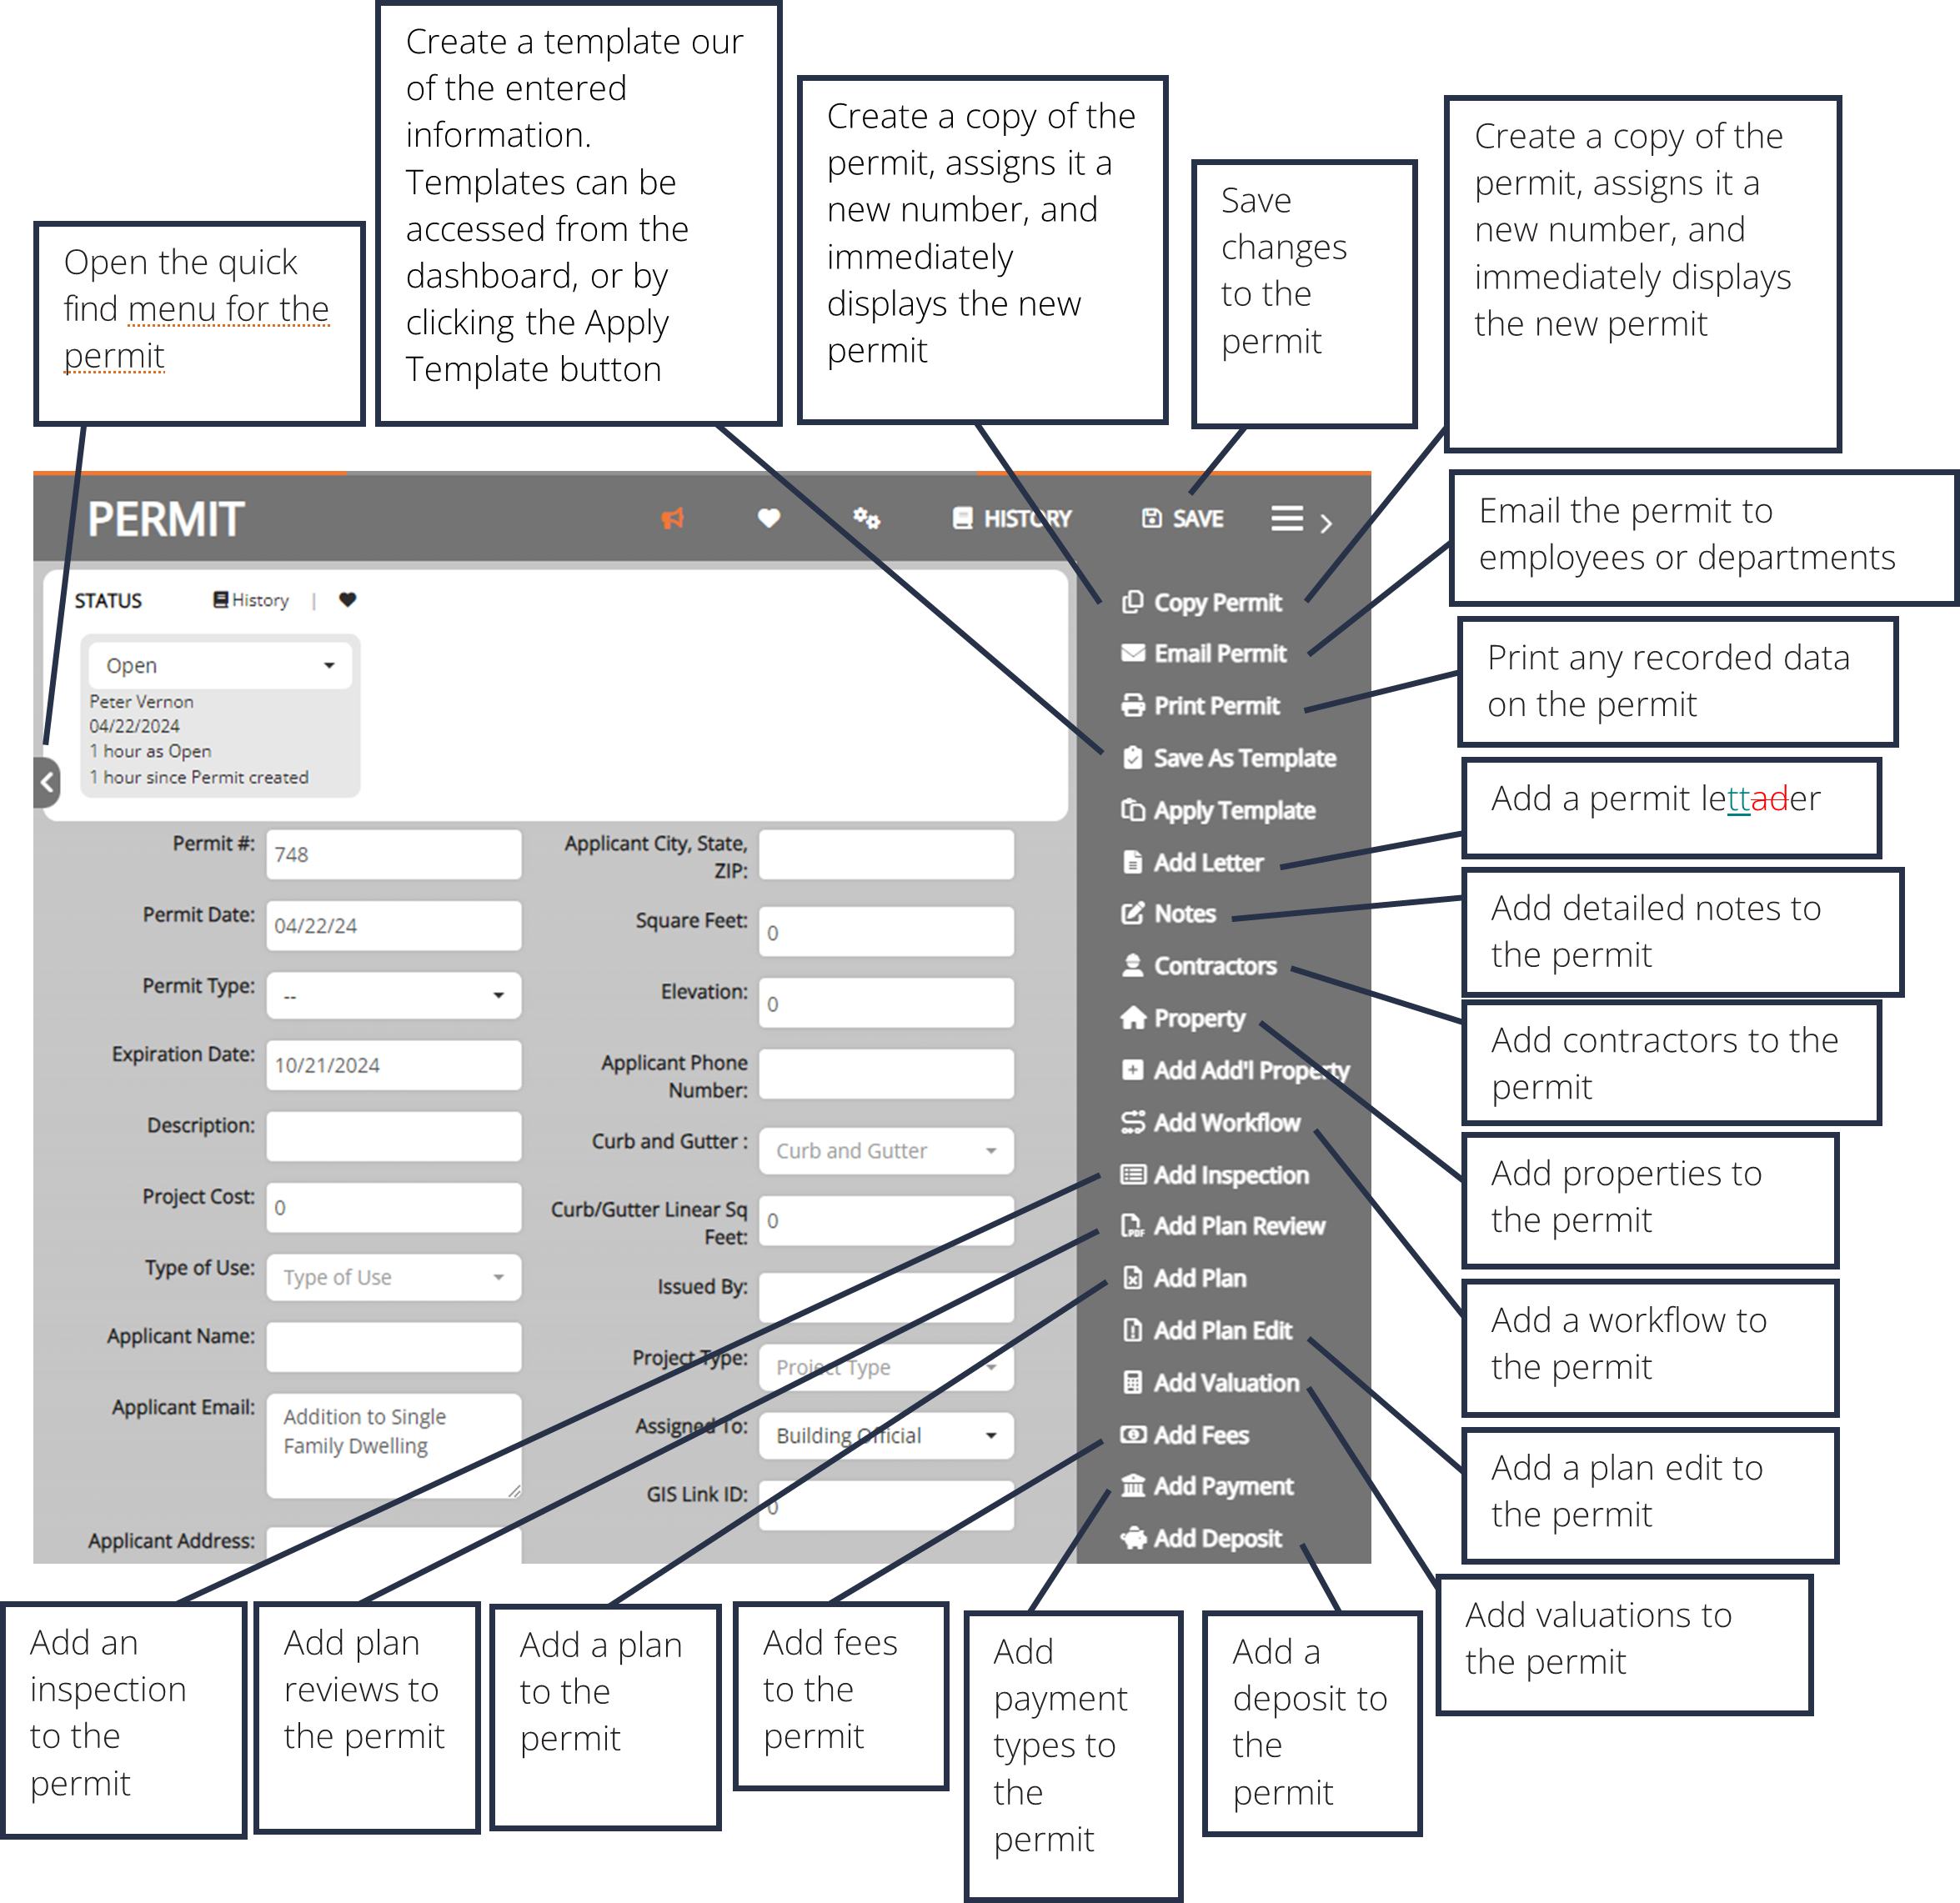
The Permit Information Window
Advanced Search

1. Click the Advanced Search button in the sub-menu.
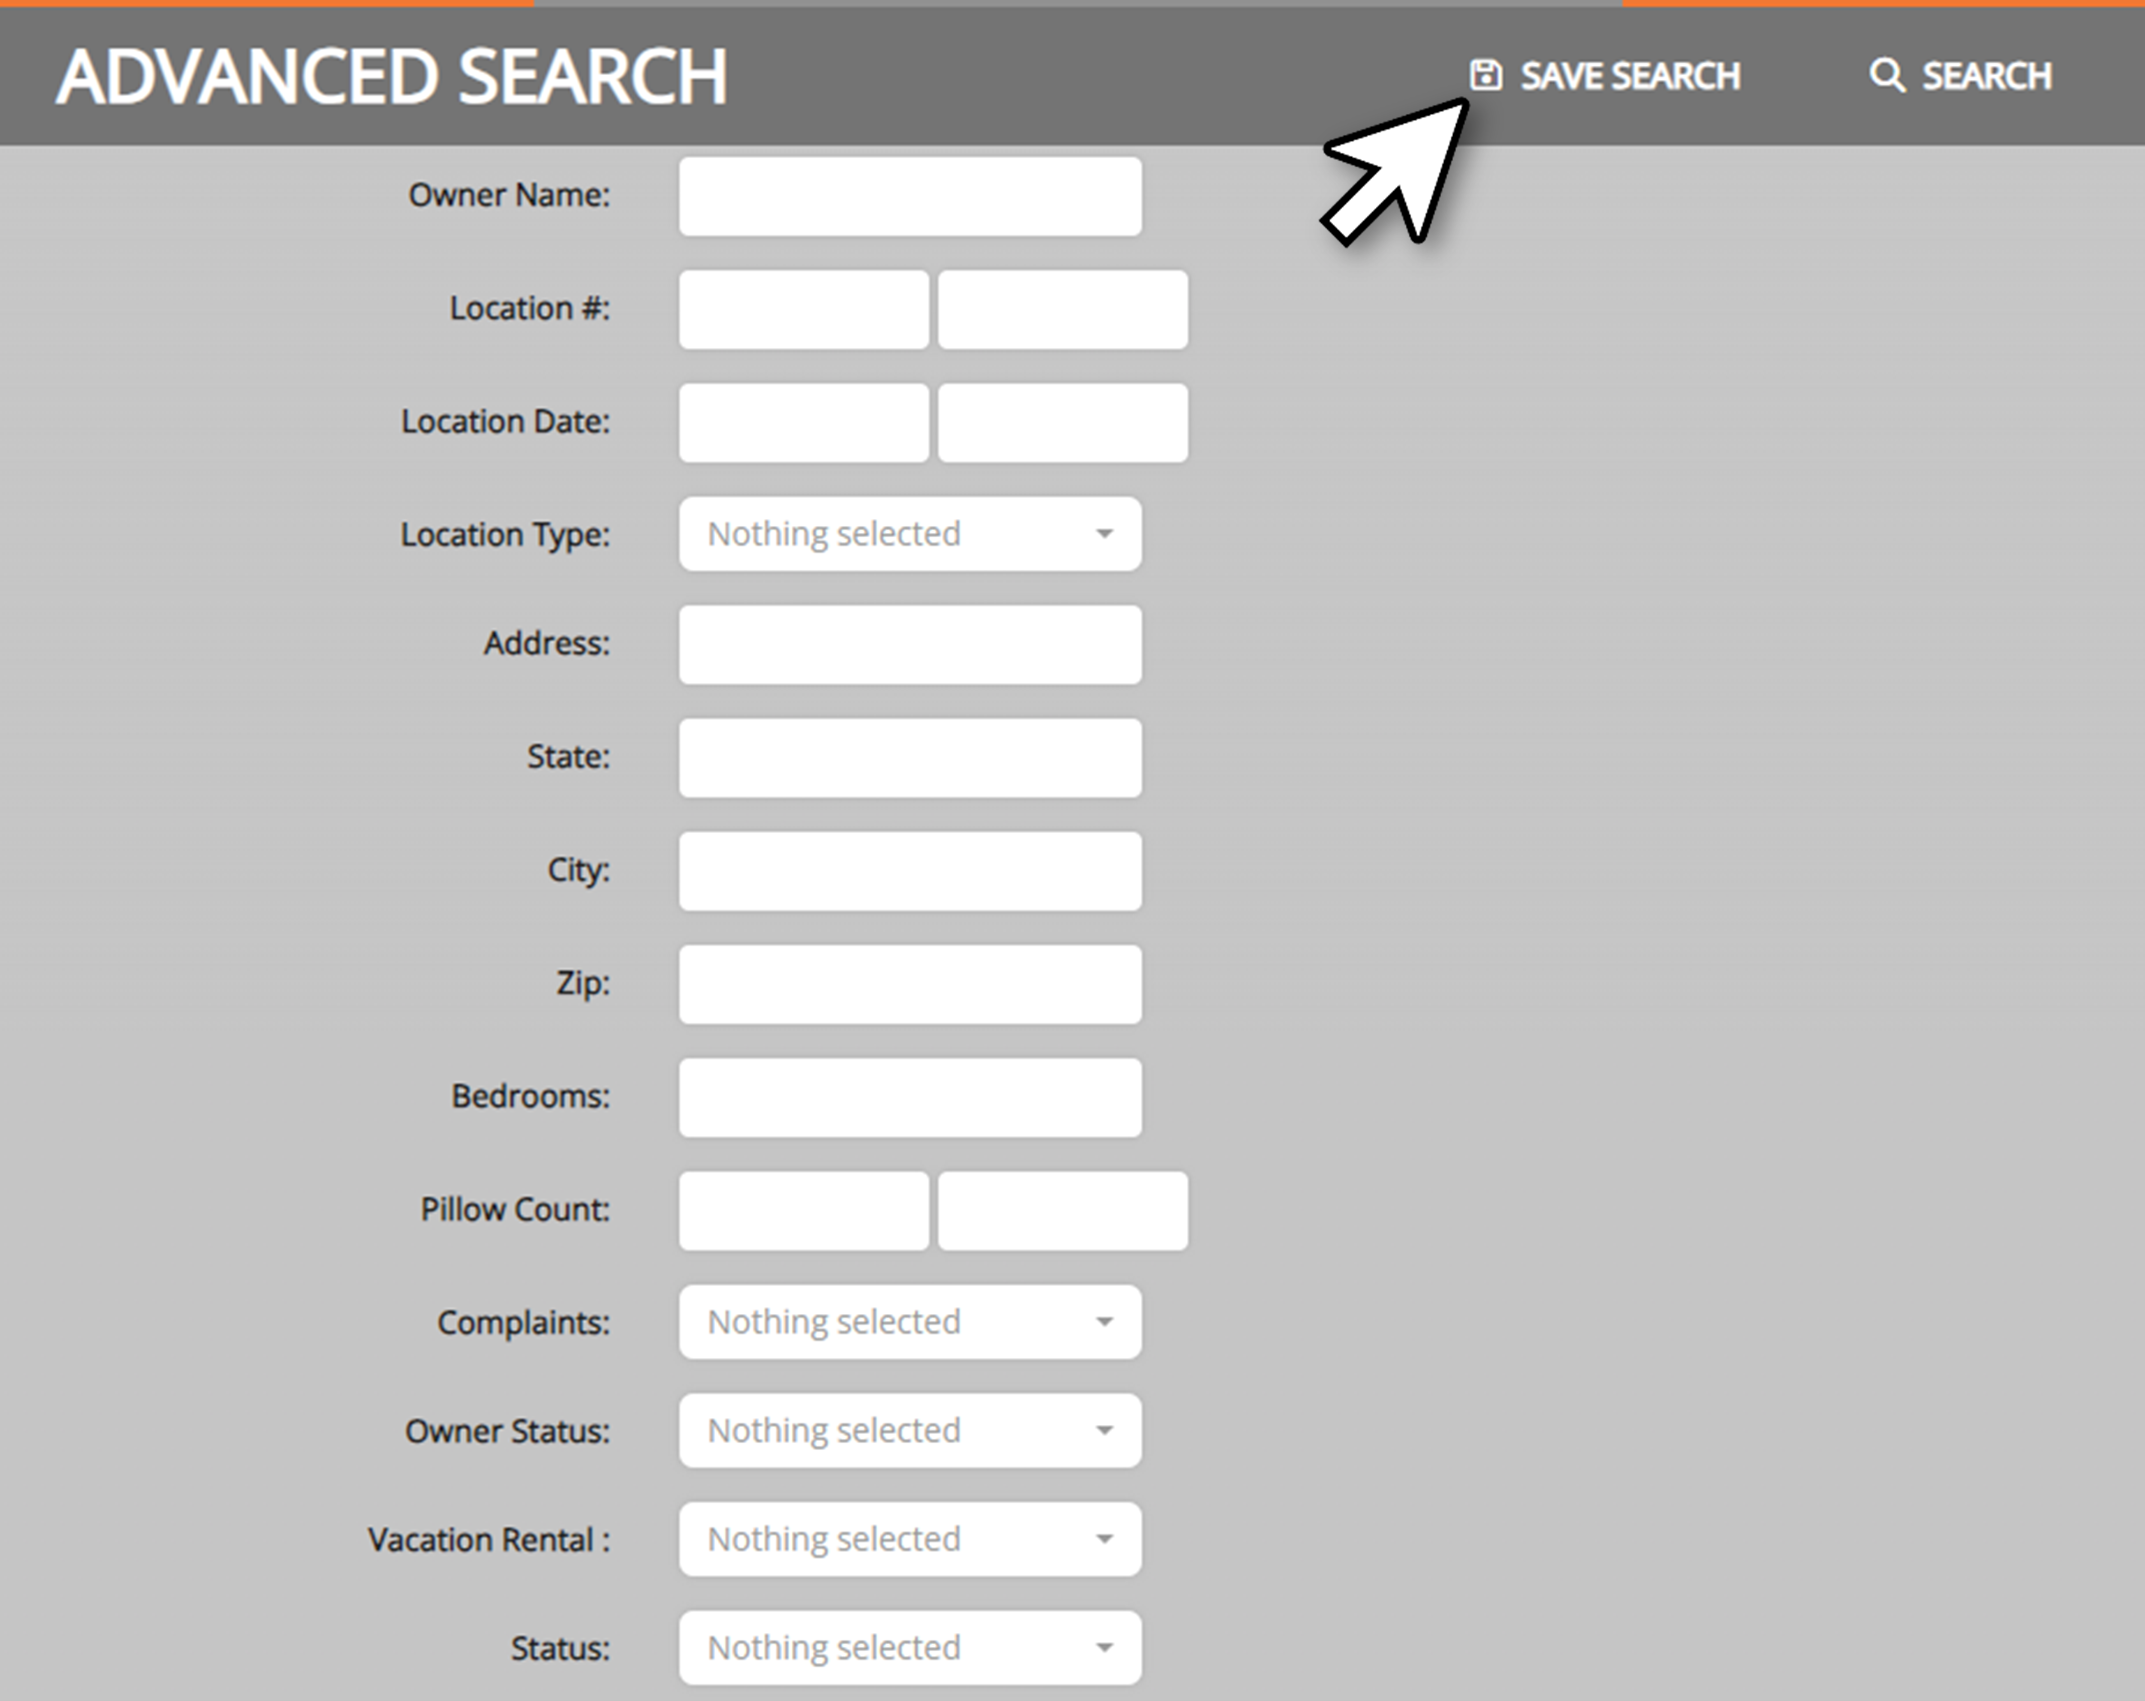
2. The Advanced Search allows the user to search by any fields in the application. Enter the desired search parameters and click Search.
3. Searches can be saved for later ease of access. To save a search, click the Save Search button before clicking Search.
Saved Searches
There are two methods to open a saved search.

1. Click the Open Saved Search button in the sub-menu.
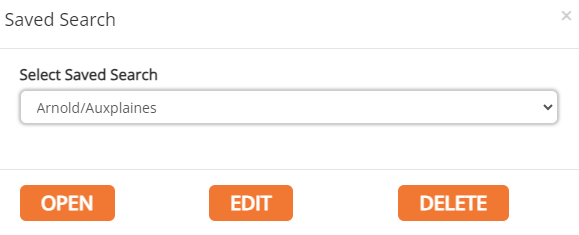
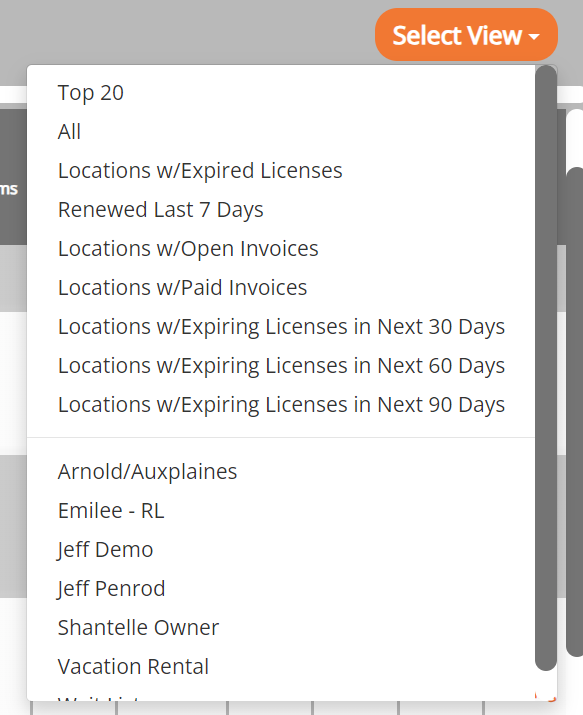
2. Select the saved search from the drop-down menu and click Open.
3. The user can also edit the search parameters of the saved search by clicking Edit.
4. Alternatively, select the saved search from the Select View drop-down menu in the upper right-hand corner of the Main View table.
Preferences and Settings
Preferences
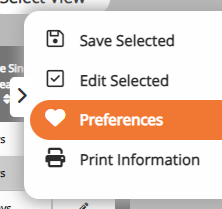
To customize the display of your software application,
select the Preferences button within the side menu.
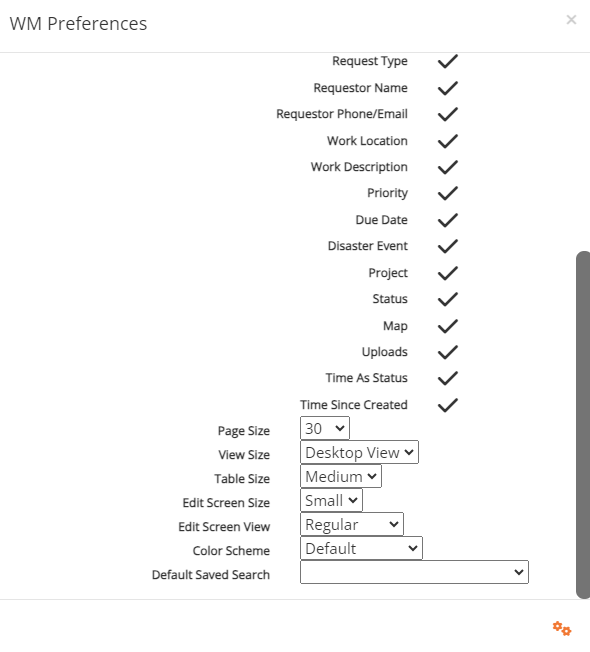
This is where you can set preferences on:
- Fields and the order they are displayed on the dashboard,
- Number of lines shown on one page (Page Size).
- Size information is displayed on the main dashboard (View Size),
- Size of detail sections on the edit screen popup window (Table Size),
- Default Size of the popup window. (Edit Screen Size)
- Condense popup window items (Edit Screen View)
- Color scheme
- Default saved search.
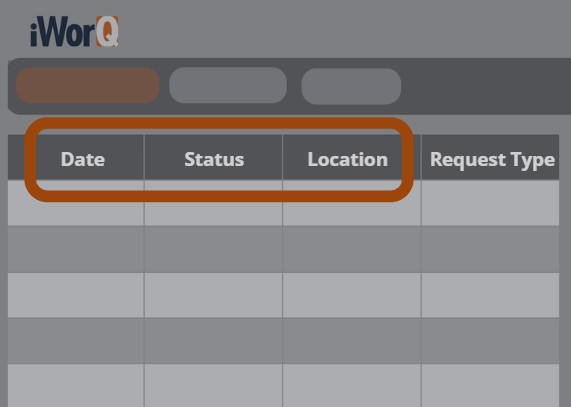
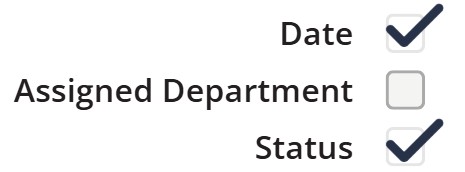
Choose Displayed Fields
In the Preferences window, select which fields to display in the Dashboard View table.
(Note: This does not remove a field from the application. Fields can still be viewed in the Information window if unchecked in the Preferences window).
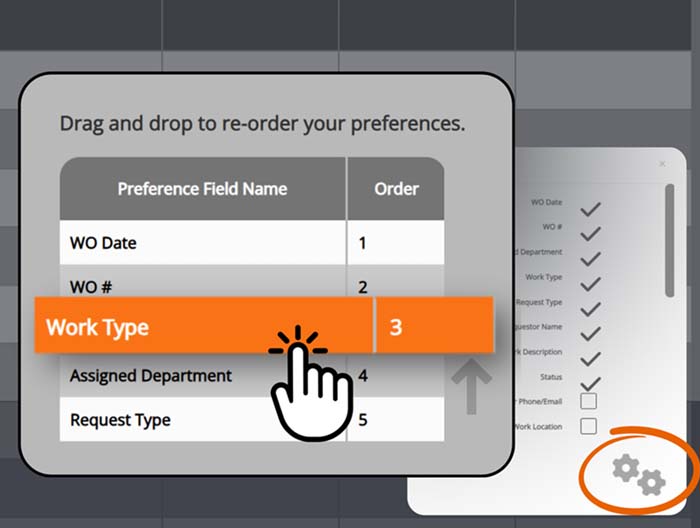
Re-order fields displayed on dashboard
Select the gear icon in the bottom right side from the preference window.
From here you can click and hold on field items to drag them to the order you wish to see them displayed in the main dashboard.
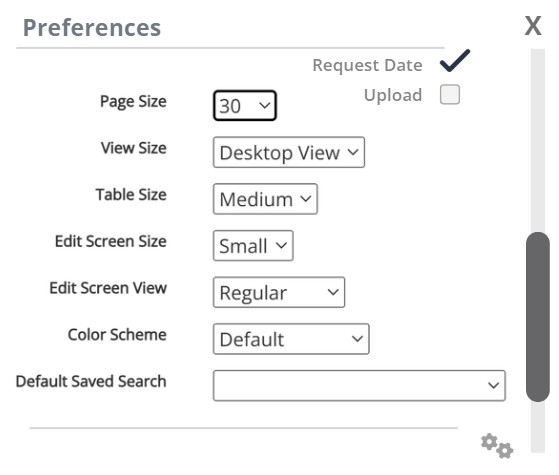
Screen Display Settings
In the Preference window scroll down to the bottom to change the look and feel of your dashboard
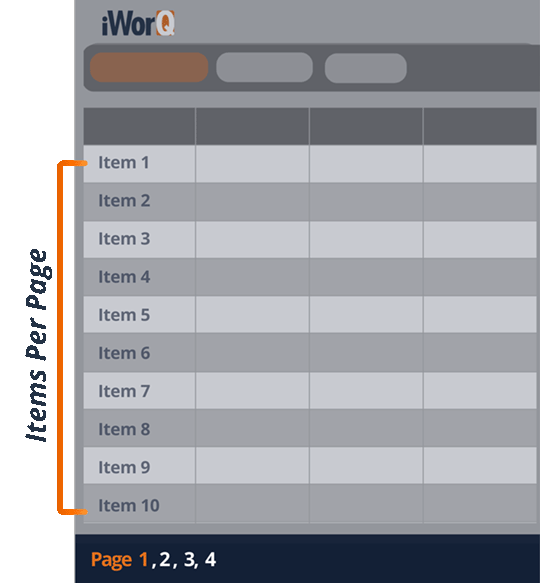
Page Size
Changes how many items are displayed on each page.
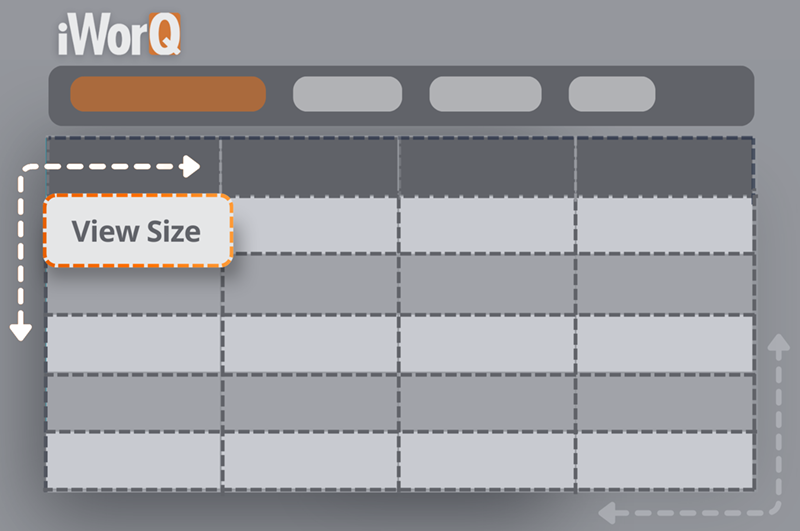
View Size
Adjusts the size of the text and the cells on the primary interface.
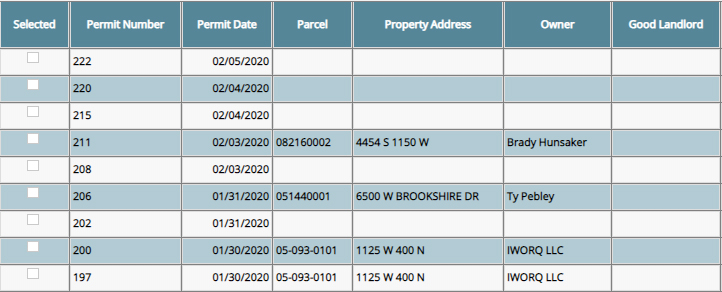
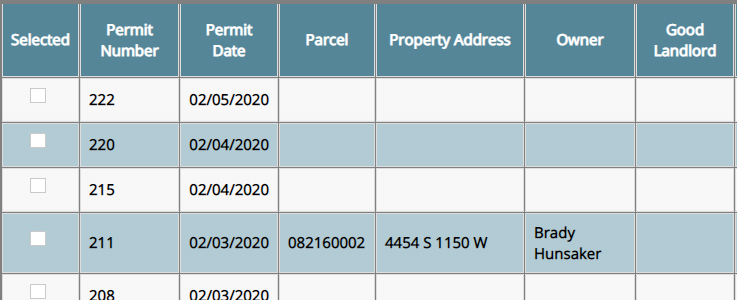
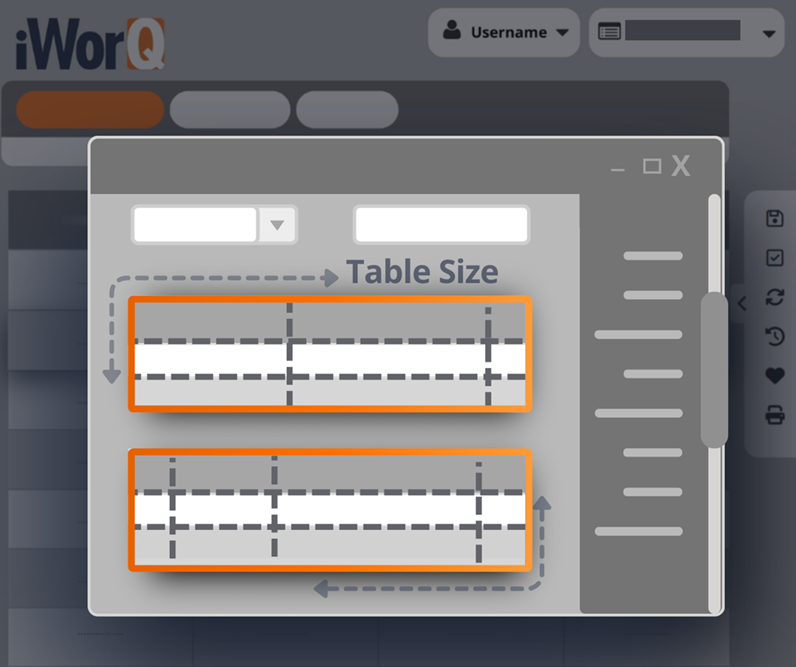
Table Size
Adjusts the size of the table text within the pop-up window.

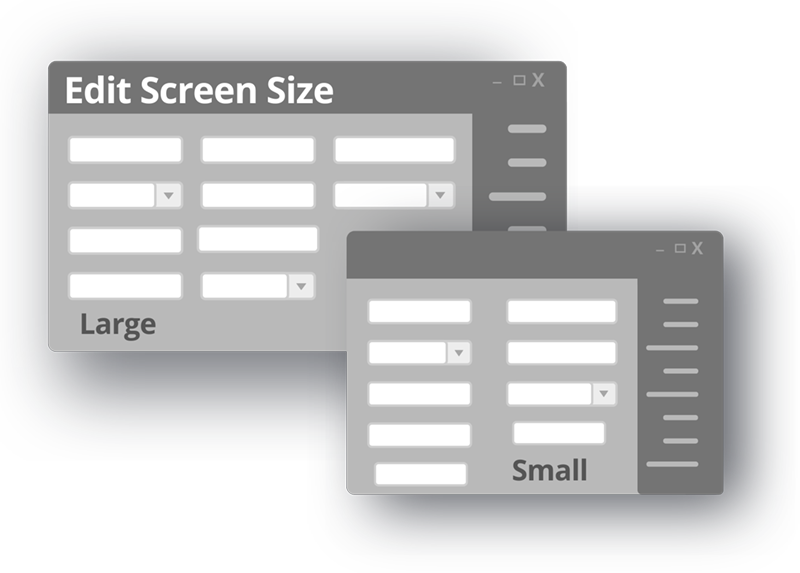
Edit Screen Size
Adjusts the default size that the popup window opens as.
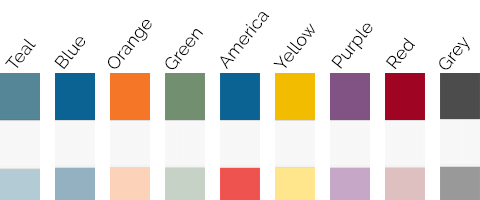
Color Scheme Examples