Fleet Management
Replacement Tab

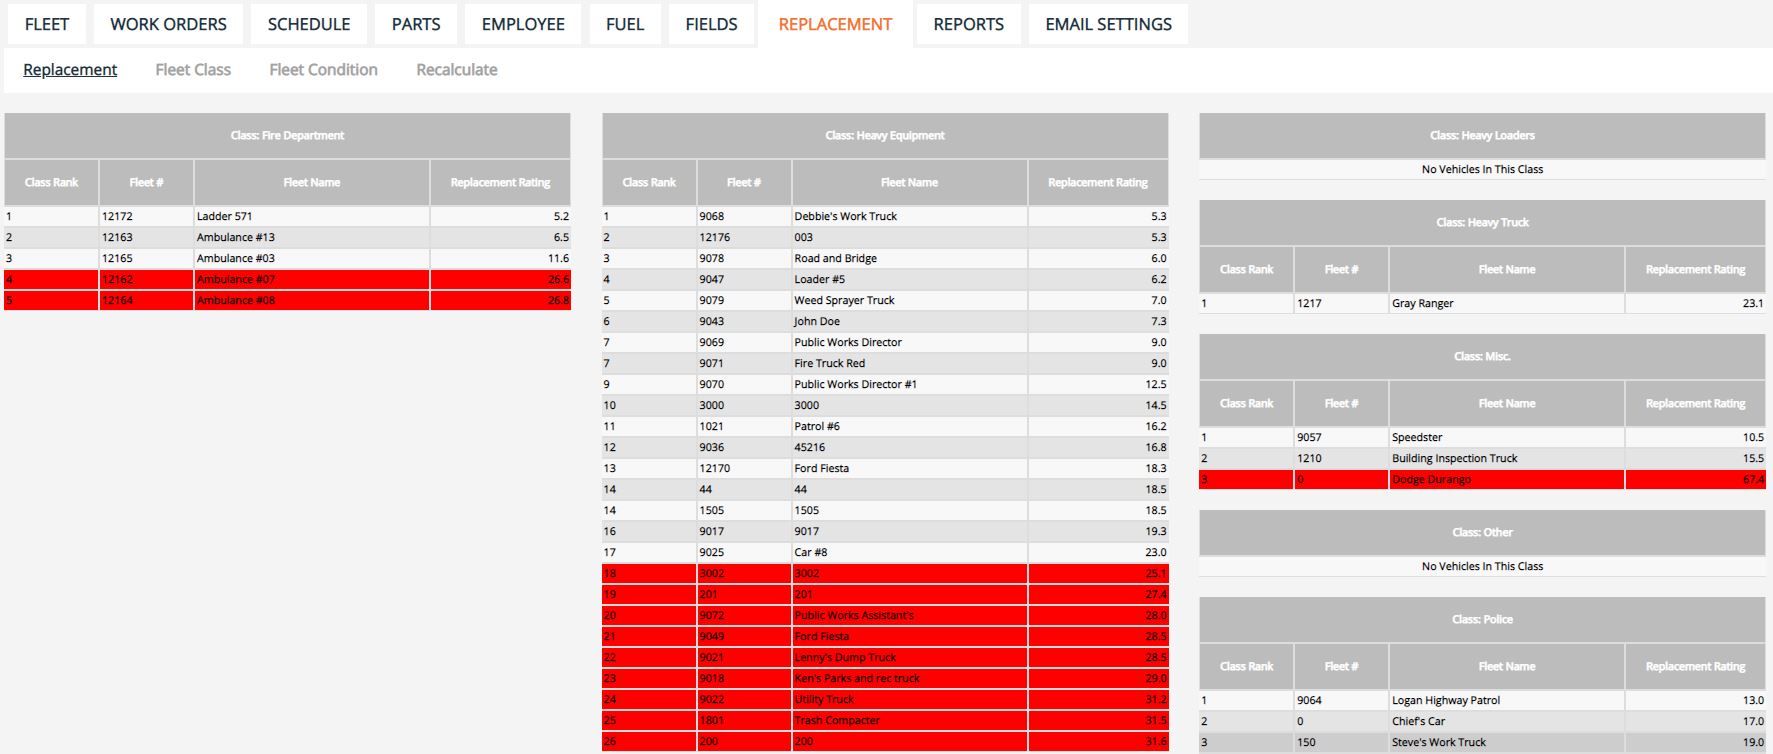
The Replacement tab displays tables of all fleet vehicles by fleet class. The tables are ordered by their Replacement Rating, a calculation derived from the vehicle’s age, activity, usage, cost, and condition. The higher the Replacement Rating, the closer the vehicle is to necessitating replacement according to the application. Vehicles that are highlighted red have been deemed to need replacing.
Fleet Class
1. To add a new fleet class, click the Fleet Class button in the sub-menu.

2. Click the Add Fleet Class button within the side menu.
3. Enter the Class Name and the Activity Level (1-5 where 5 is high activity).
4. Enter in the replacement benchmarks for mileage, hours, and age. These represent the points of usage where a fleet vehicle within the class will need to be replaced. Click Add.
5. Click on the row of an existing Fleet Class to edit. Click the red X near the end of the class’ row to delete the existing class.

NOTE: Fleet Classes cannot be deleted if they are attached to an existing fleet vehicle.
Fleet Condition
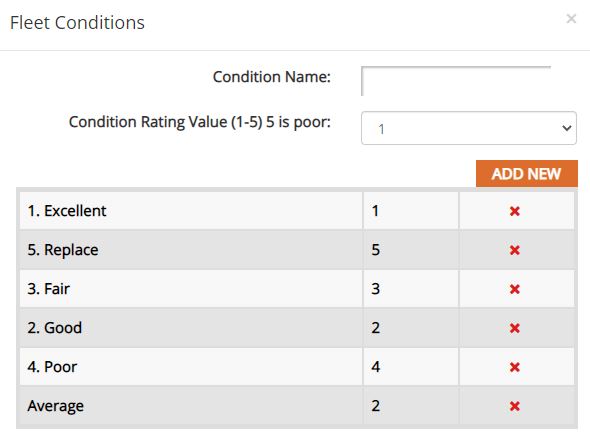
1. To edit the Fleet Conditions, click the Fleet Condition button in the sub-menu.
2. Add a new Condition Name. The Fleet Management application allows for users to assign conditions a rating from1-5 where 5 is poor. Select the Rating Value.
3. Click Add New.
4. Click on the row of an existing Fleet Condition to edit. Click the red X near the end of the condition’s row to delete the existing condition.
Fleet Management Tutorials